By Barb Binder, Adobe Certified Instructor on FrameMaker
Float, or Floating, is a property that can be assigned to either a table or to an anchored frame. When assigned to either object, the object will float to the next page, and the text that previously appeared after the object will backfill onto the previous page.
Floating a Table
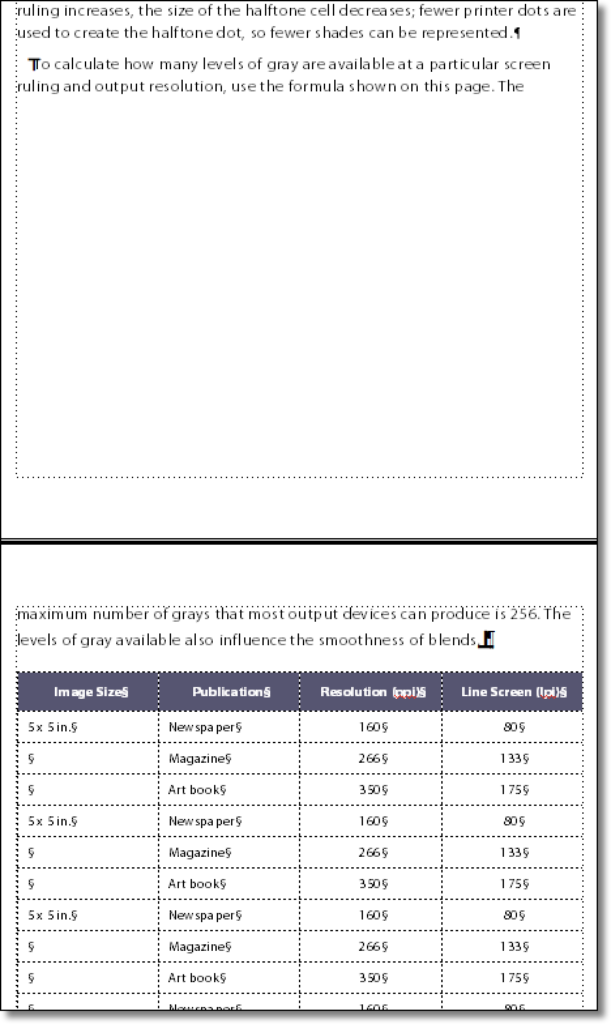
Sometimes we have tables that don’t fit on a single page. When that happens, FrameMaker will move the rows that don’t fit on the first page to the top of the next page, automatically. This works well for long tables, but what you have a fairly short table and you want to keep it all on the same page?
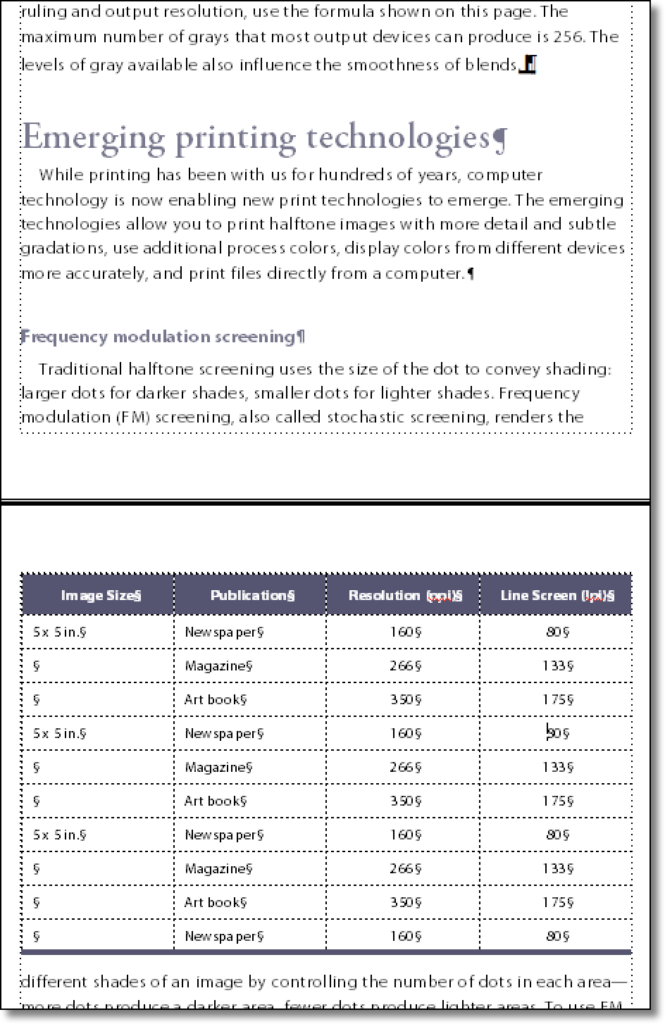
In the first series of screen shots below, you are seeing the bottom of page 3 and the top of page 4. Note the heading “Emerging printing technologies” under the table.
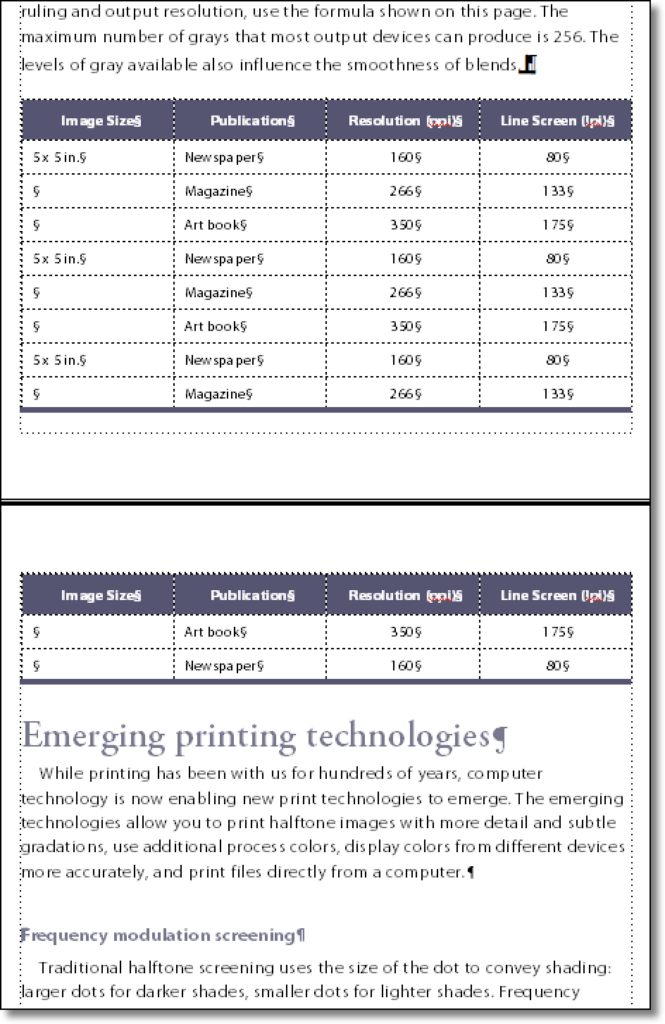
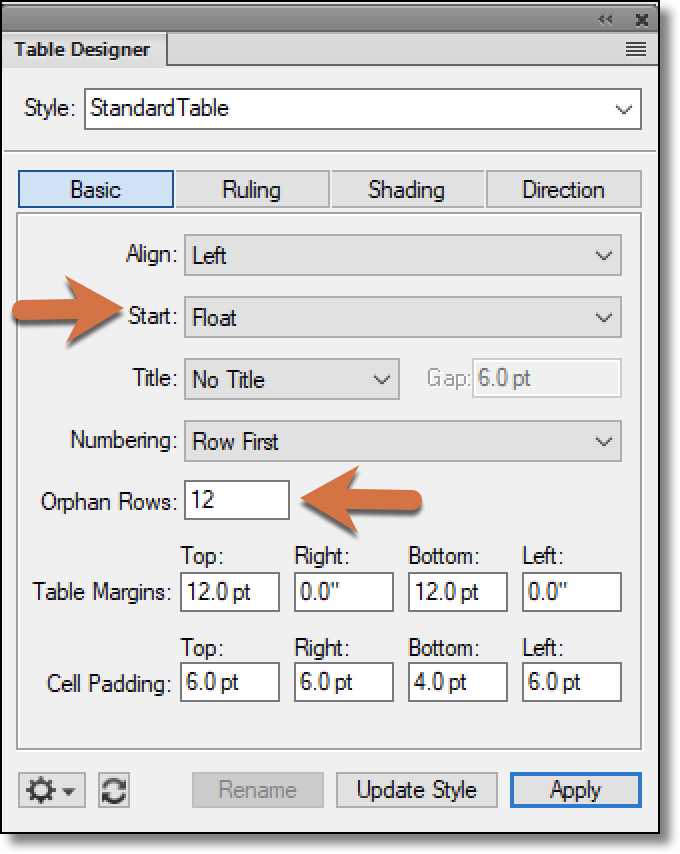
To keep the table on a single page, begin by setting the Orphan Rows to a number equal to or greater than the number of rows in the table. (The range is 1 to 255.) This instructs FrameMaker to keep all the rows on the same page. (Note: if the table has so many rows that it can’t possibly fit on the same page, it will break anyway.) After specifying the orphan row value, the entire table will then move to the next page, leaving a gap behind.
That’s where float comes in. Change Start to Float and the text that appeared after the table will backfill that gap.
Floating an Anchored Frame
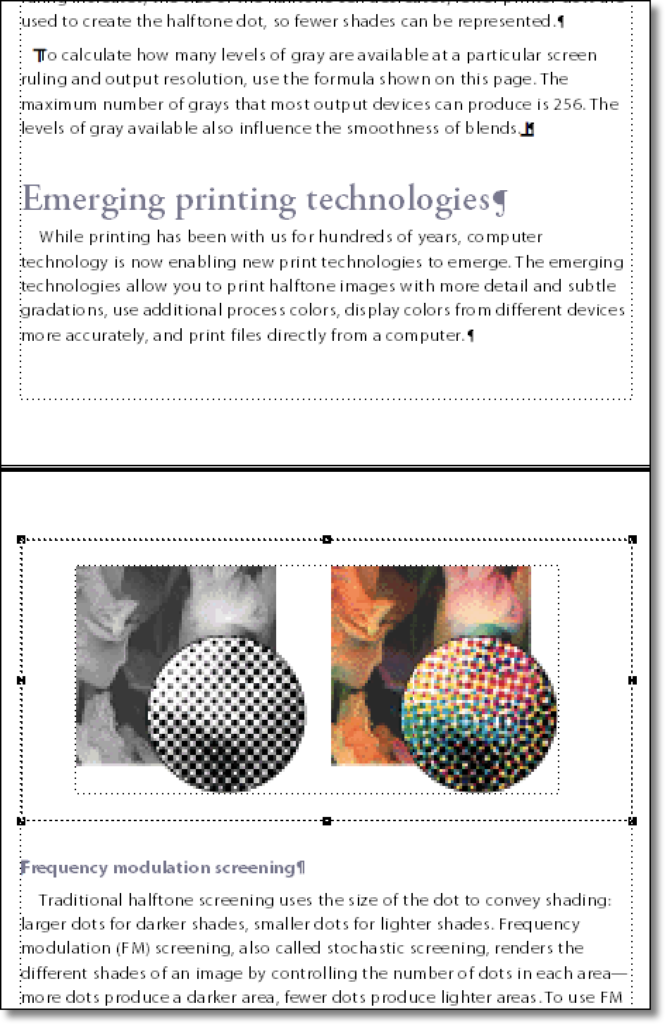
The float property is also works with some of the Anchored Frame positions—Below Current Line, At Top of Column and At Bottom of Column. I’m showing how a small graphic will behave with float, but this also works well with page sized-graphics.
In the next series of screen shots below, you are seeing the bottom of page 3 and the top of page 4. Note the heading “Emerging printing technologies” under the table. The frame is anchored below the last line of the paragraph on page 4, and since the last two lines of the paragraph and the frame all can’t fit at the bottom of page 3, they move together to the top of page 4, leaving a large gap.
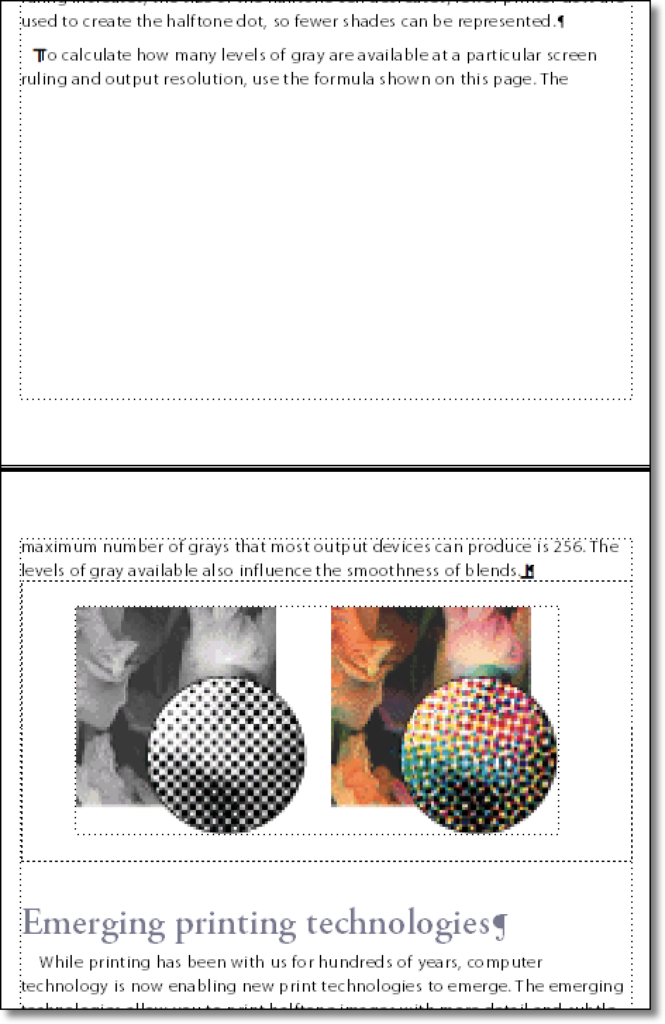
To eliminate the gap, enable Floating for the selected anchored frame.