by Barb Binder, Adobe Certified Instructor on Illustrator
I’d wager that many of you will learn all you need to know about masking (aka cropping) in Illustrator in these two past Rocky Mountain Training posts:
But, there are a few more variations out there to consider, and this post will address two additional options: Draw Inside and using the Context menu.
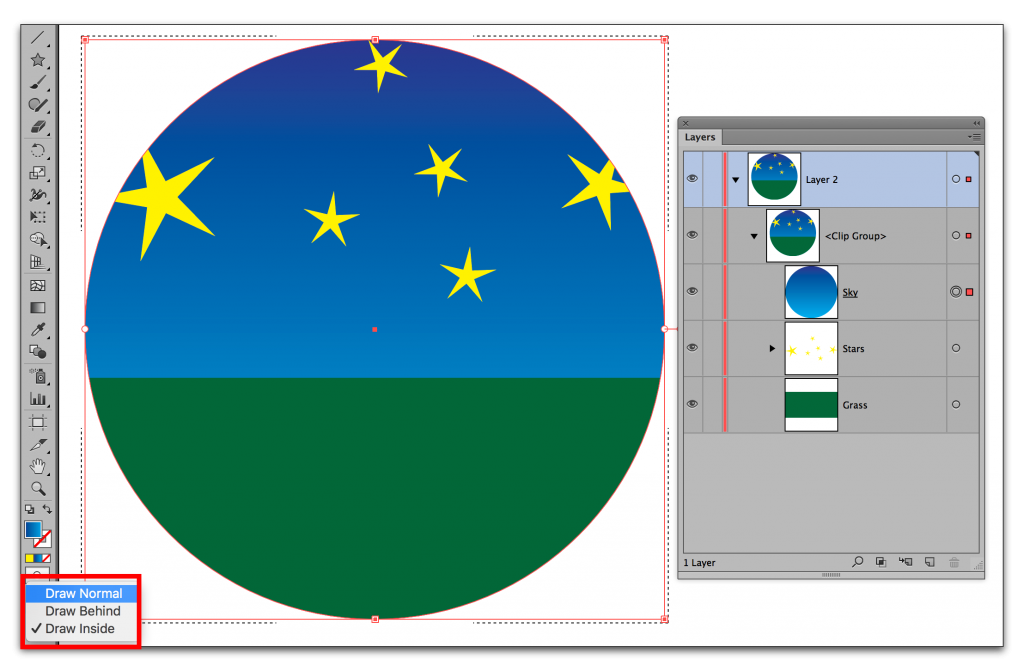
Draw Inside
This is the entry-level way to create a clipping mask. It’s very easy for a new user, and if they don’t glance over at the Layers panel, they have no idea they are masking.
- Select a shape and turn on Draw Inside.
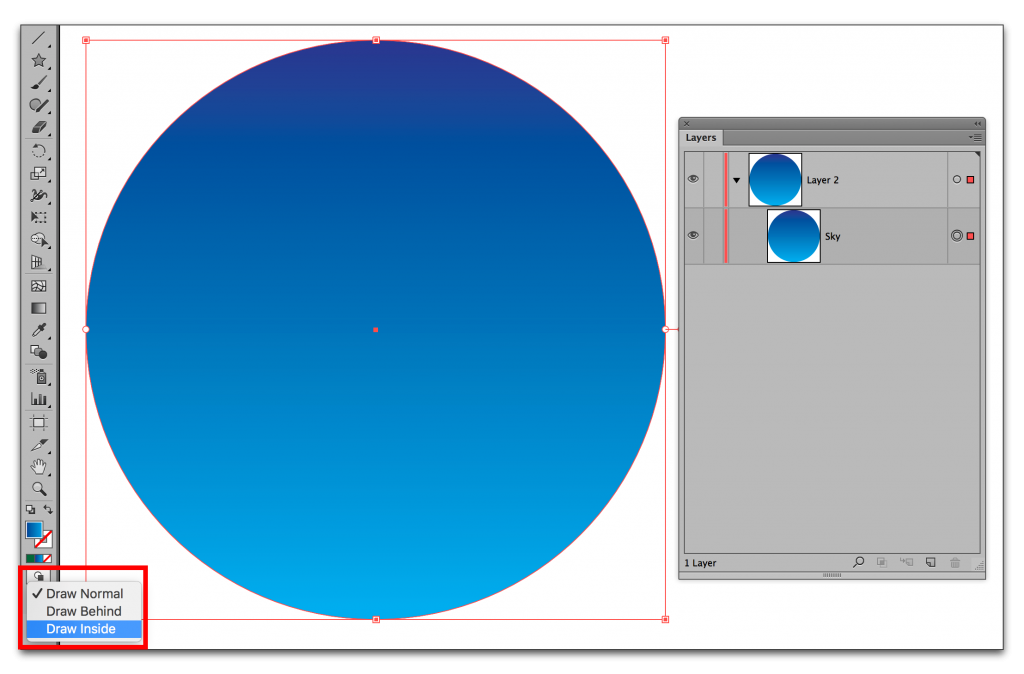
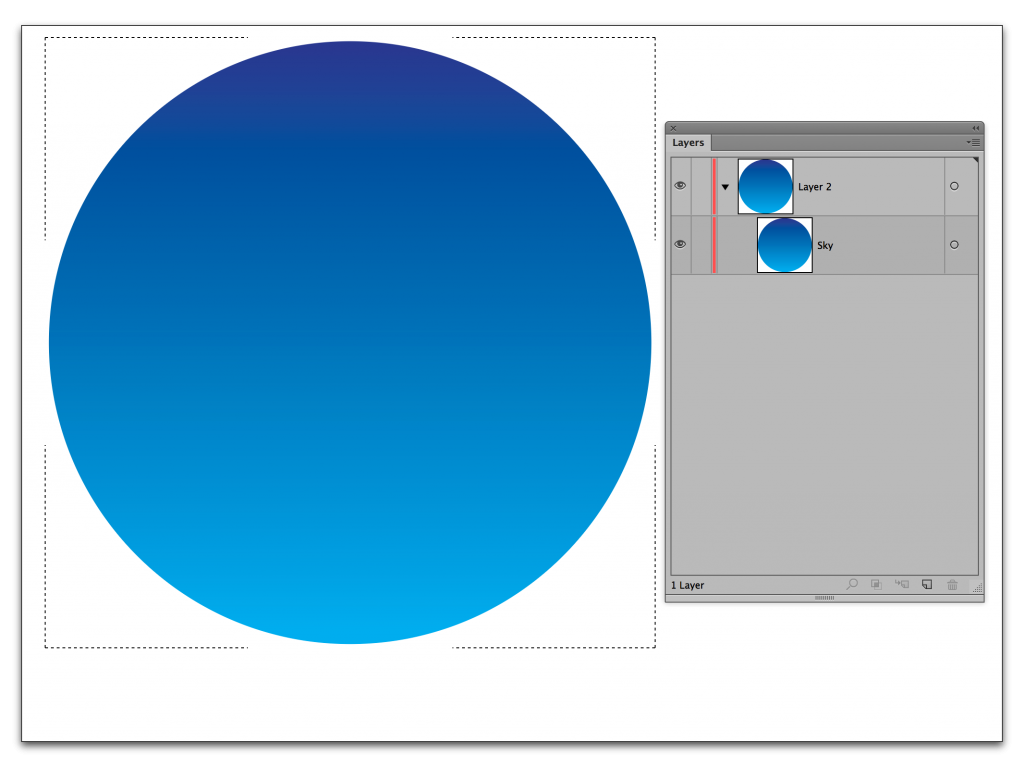
- Deselect the object and note the dotted line corners, which indicate that Draw Inside is enabled for that object.
- Add some new shapes that overlap the edge of the clipping object—they are clipped by the edge of the original shape.
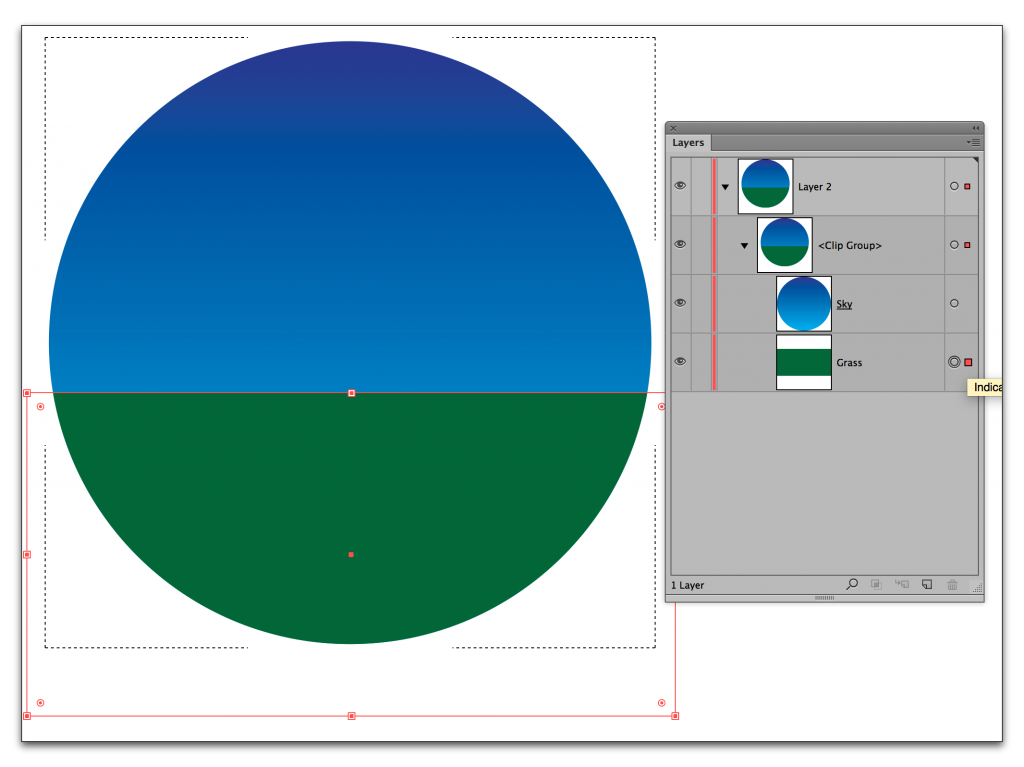
- When done adding shapes, return to Draw Normal.
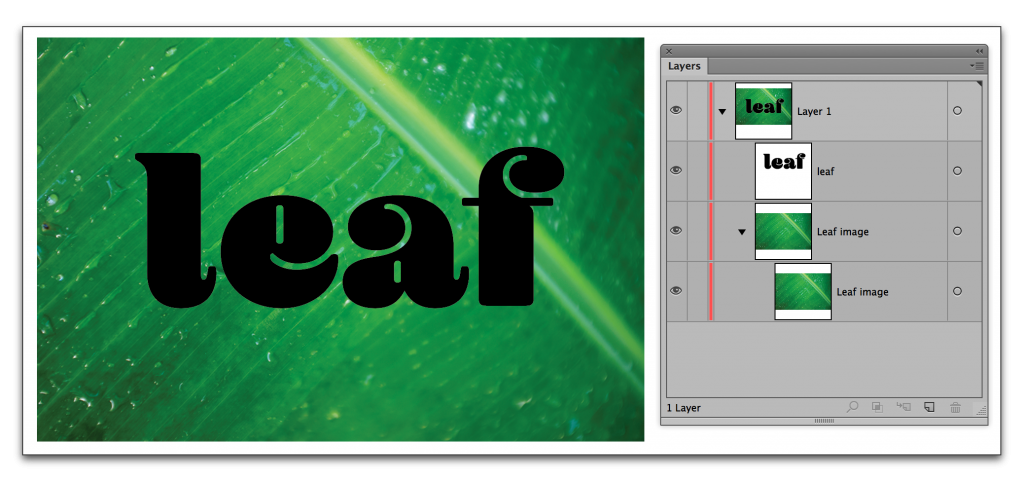
Context menu
This one is very similar to the technique explained in Adobe Illustrator: Cropping a Photograph, but actually is a little quicker.
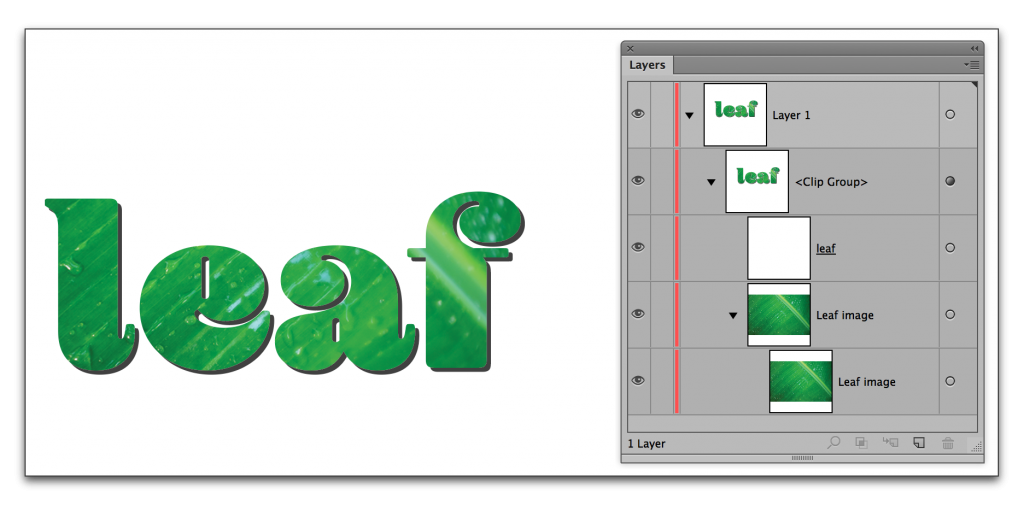
- Place the masking shape and an image on the artboard. Make sure the mask shape is on top. (I’m tired of ellipses so I’m using text!).
- Select both objects. Right+click (Mac: Ctrl+click) and select Make Clipping Mask.
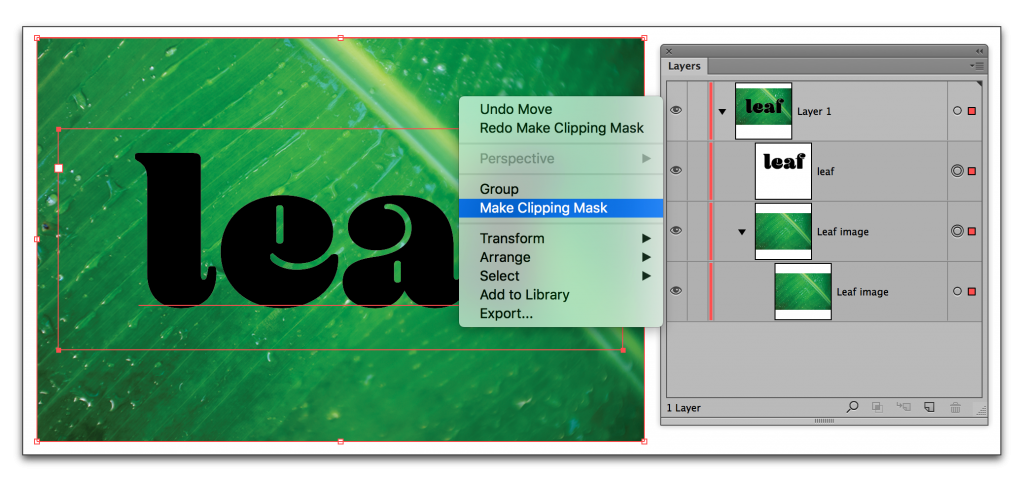
- Done. (I added a drop shadow to the clipping group.)