by Barb Binder, Adobe Certified Instructor on Illustrator
Are you looking for the Crop tool in Illustrator? Good luck with that—as of CC 2015, there is still no Crop tool. I’m not saying you can’t crop your artwork or photo, I’m just saying you’re looking for the wrong tool. Illustrator handles cropping via a mask, and once you understand how it works, it’s easy.
Cropping final artwork
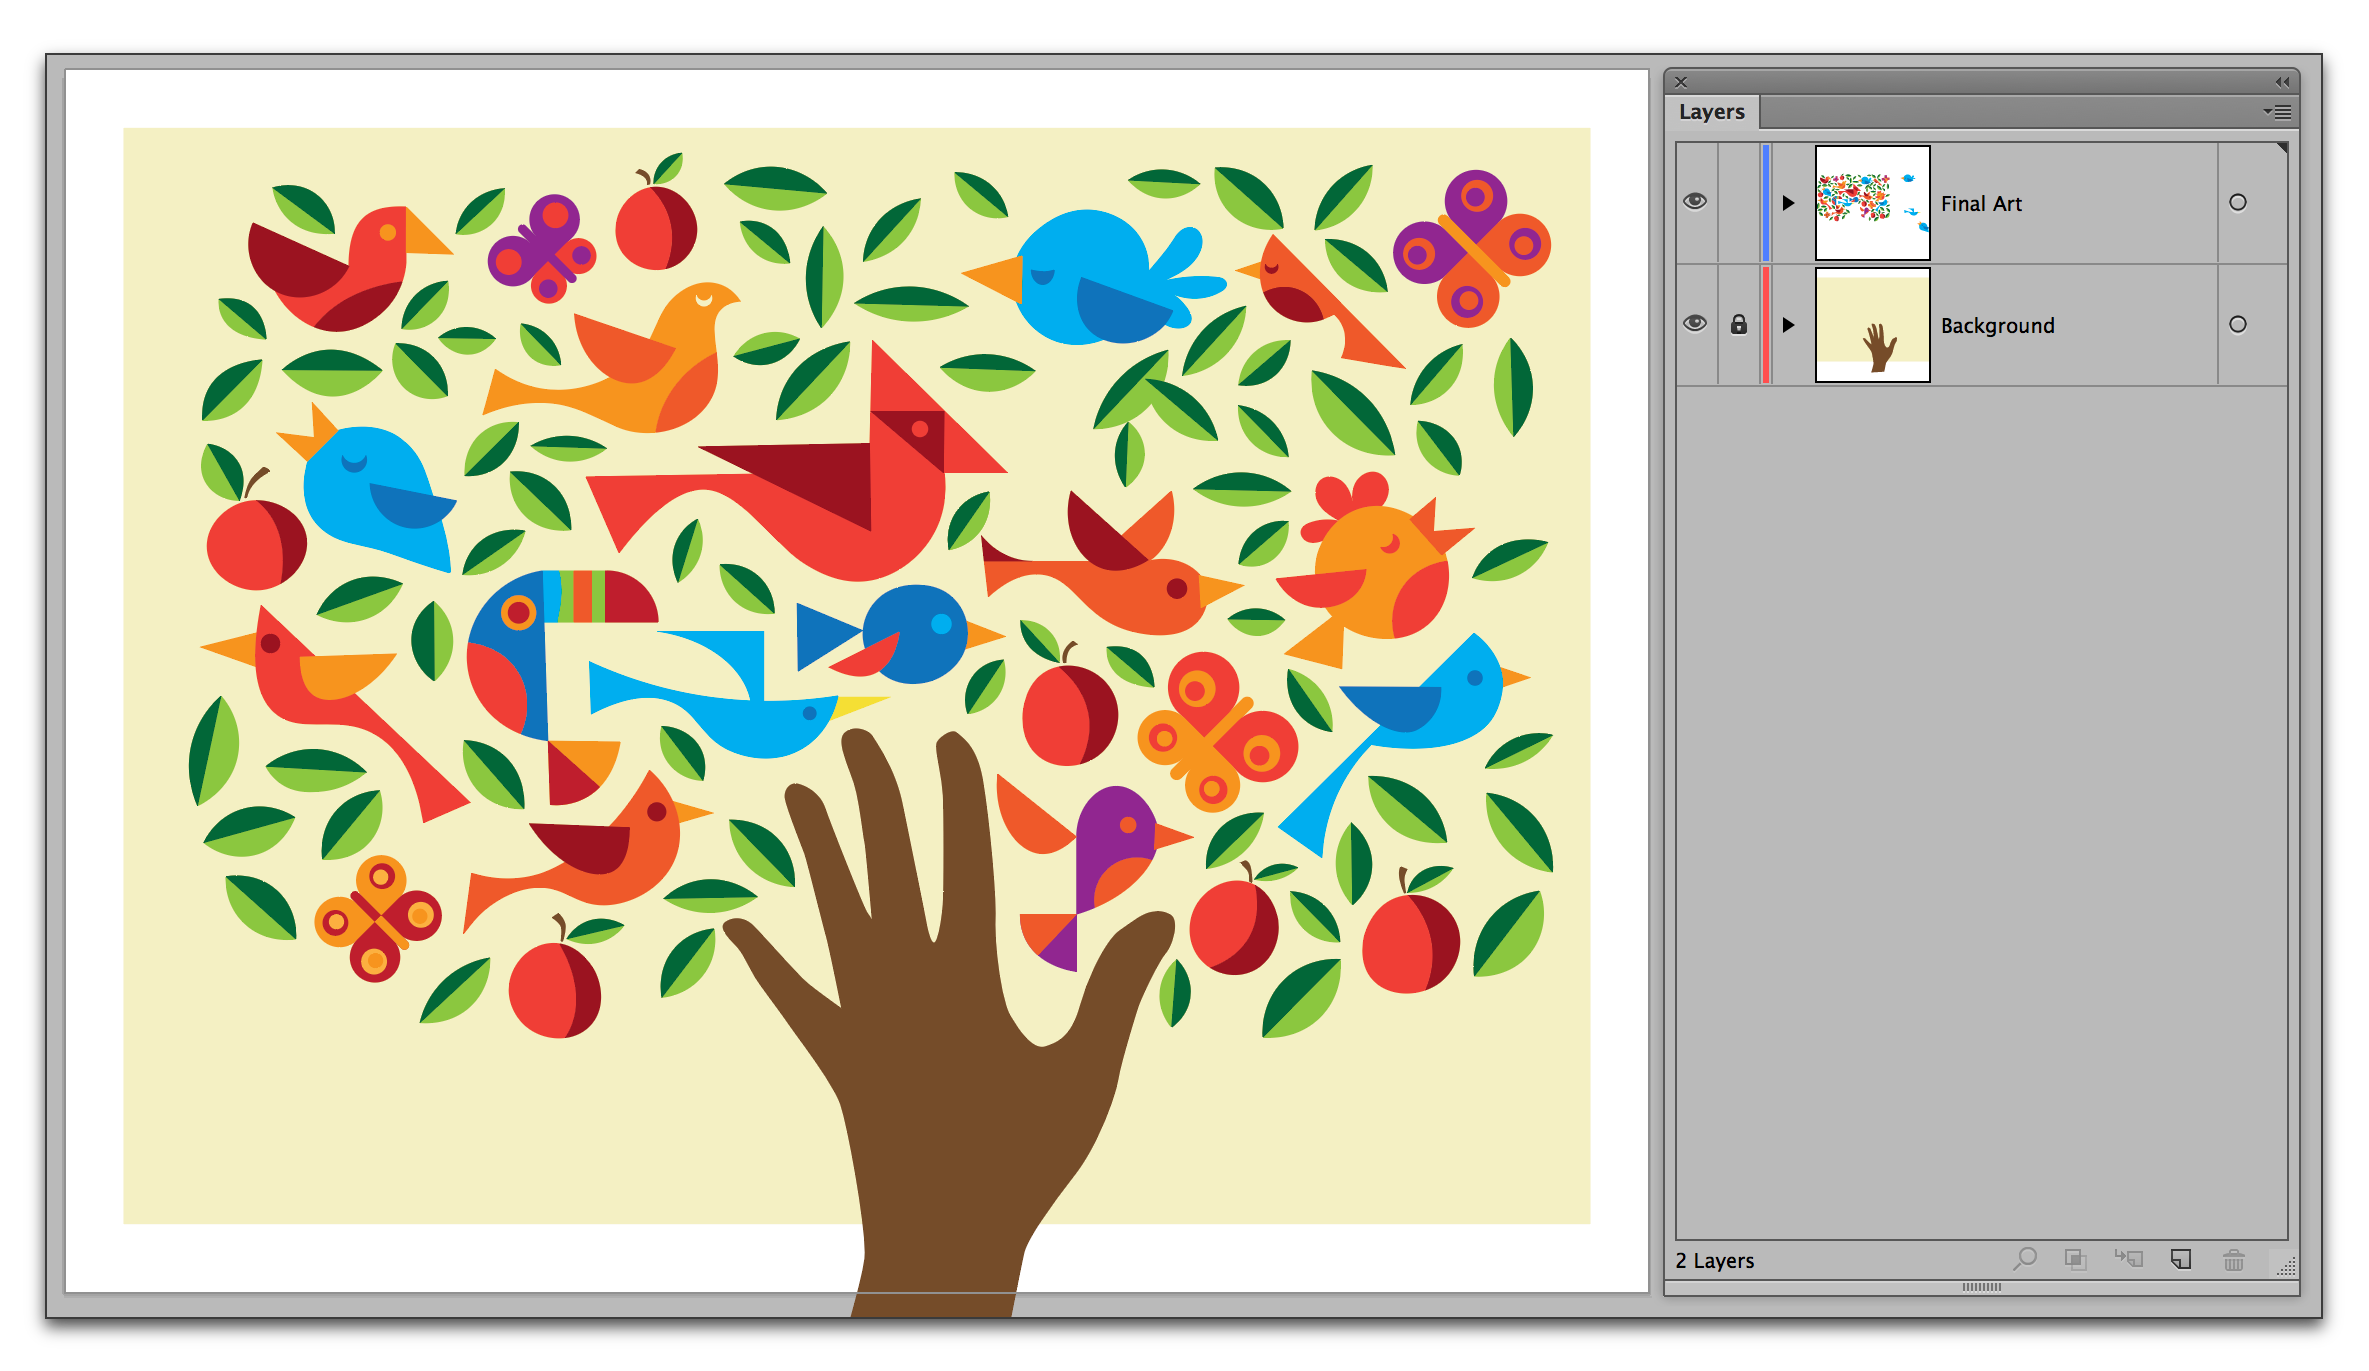
- Let’s say you have completed your artwork, and then decide to want to mask (aka hide or conceal) the outer edges along a circular path.

- Begin by examining your layer structure. Masking happens on a layer by layer basis. If you want to crop all of the artwork, you will need a top-level layer that will contain all of the sub-layers.
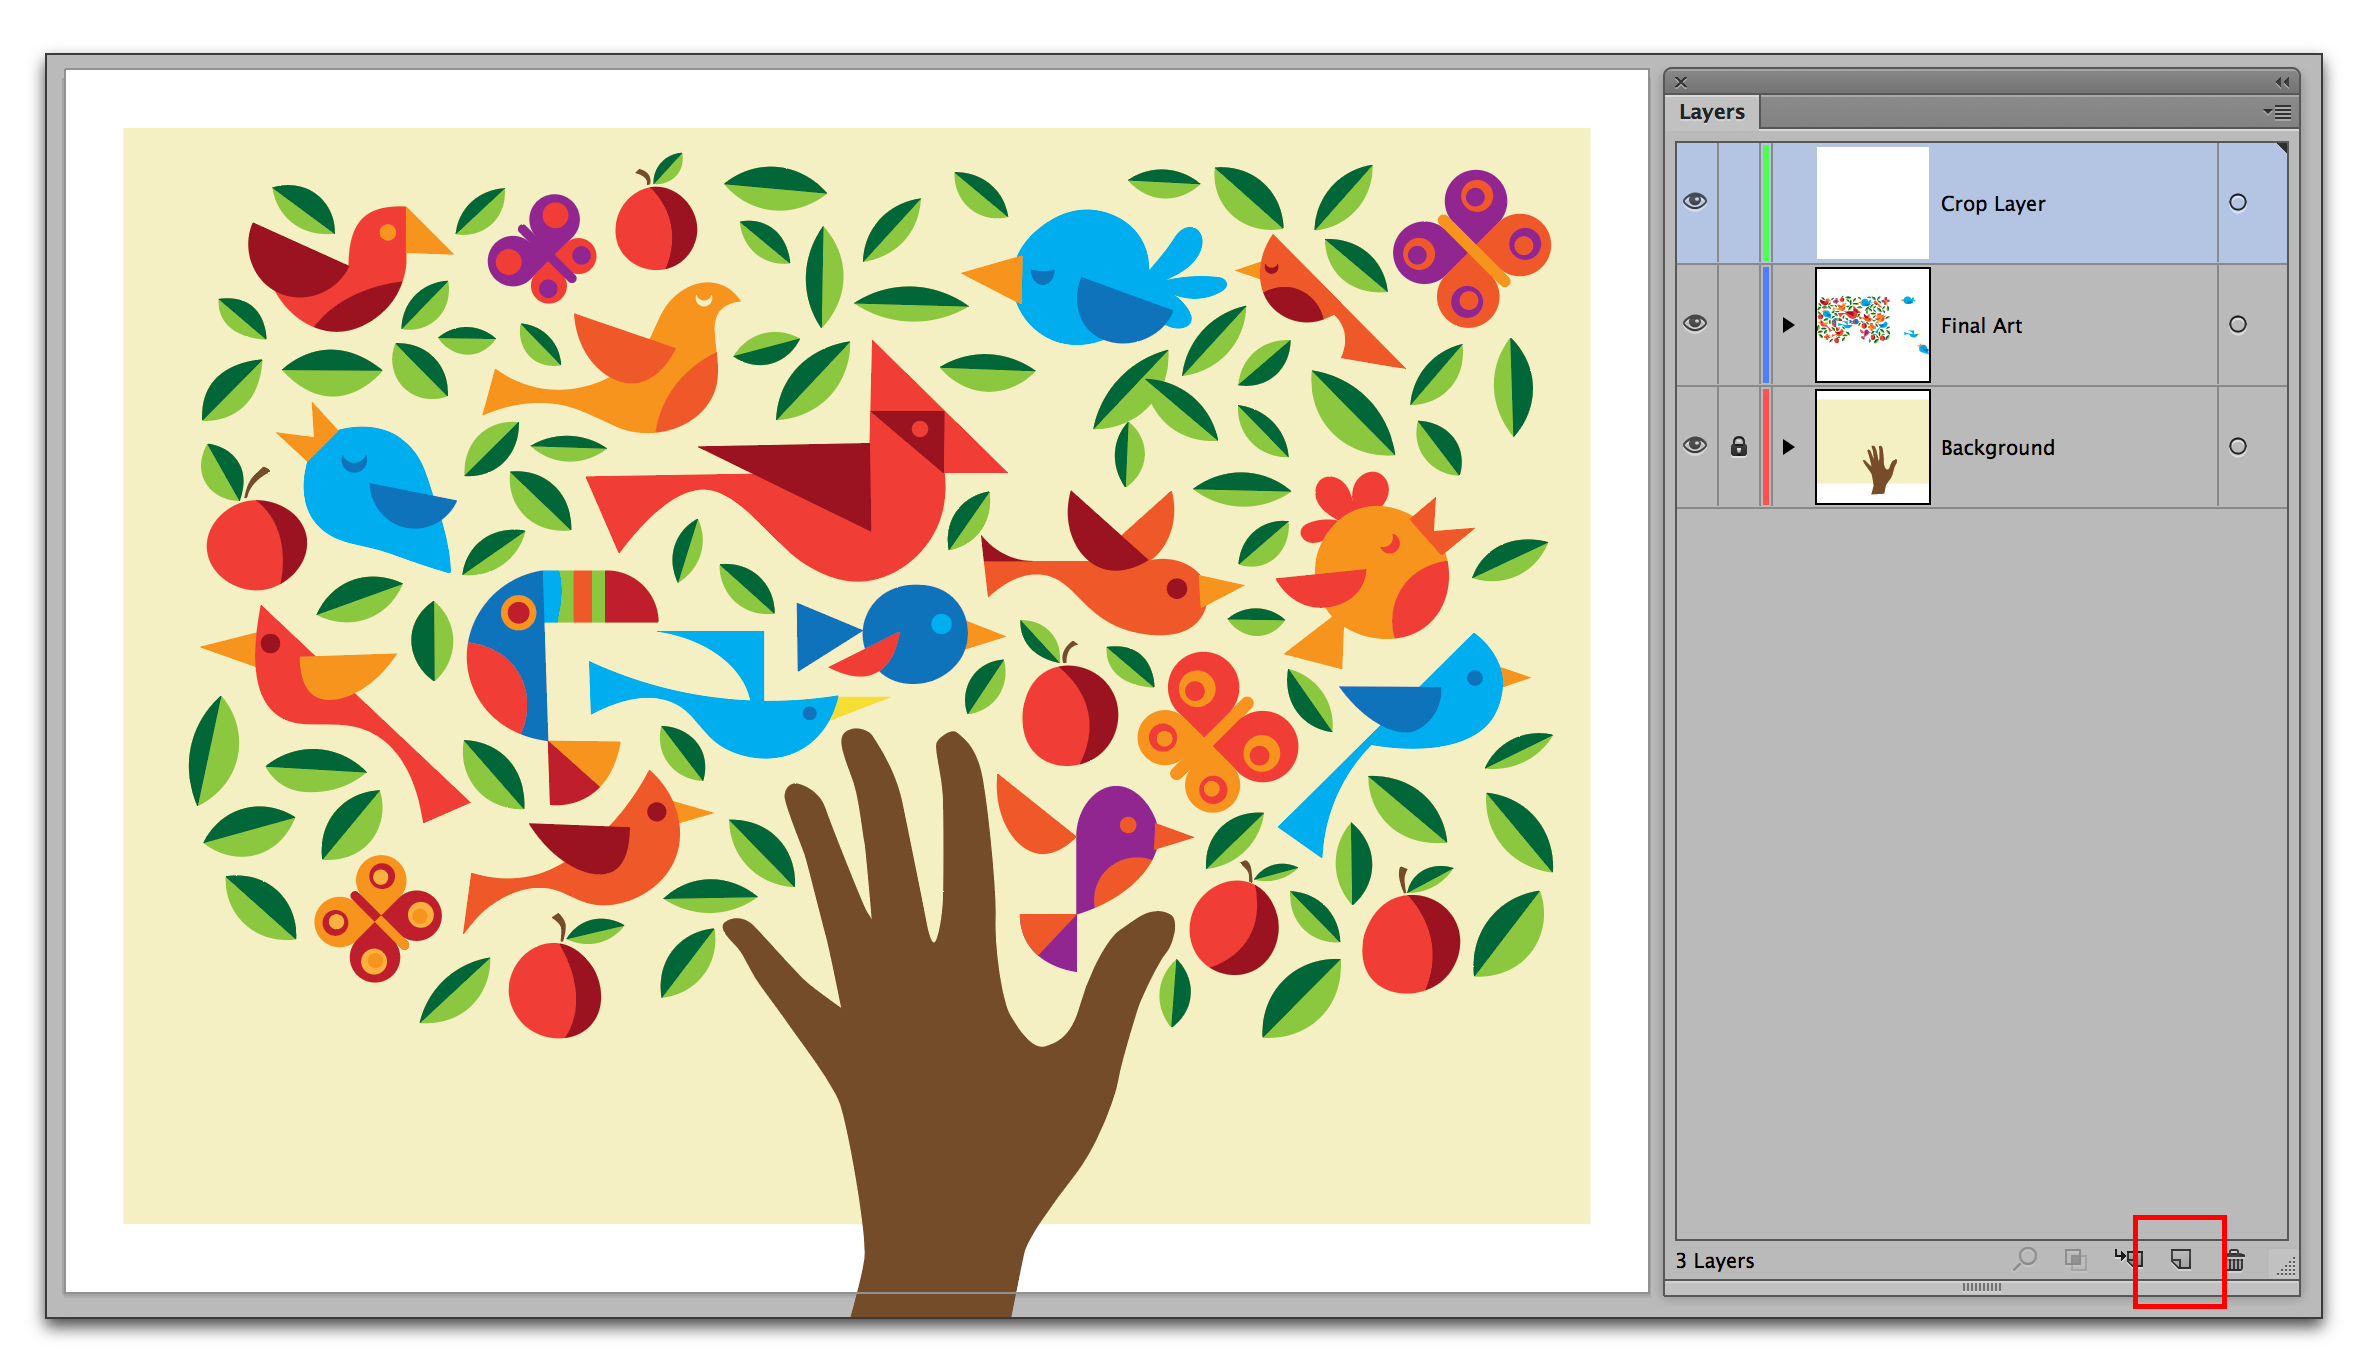
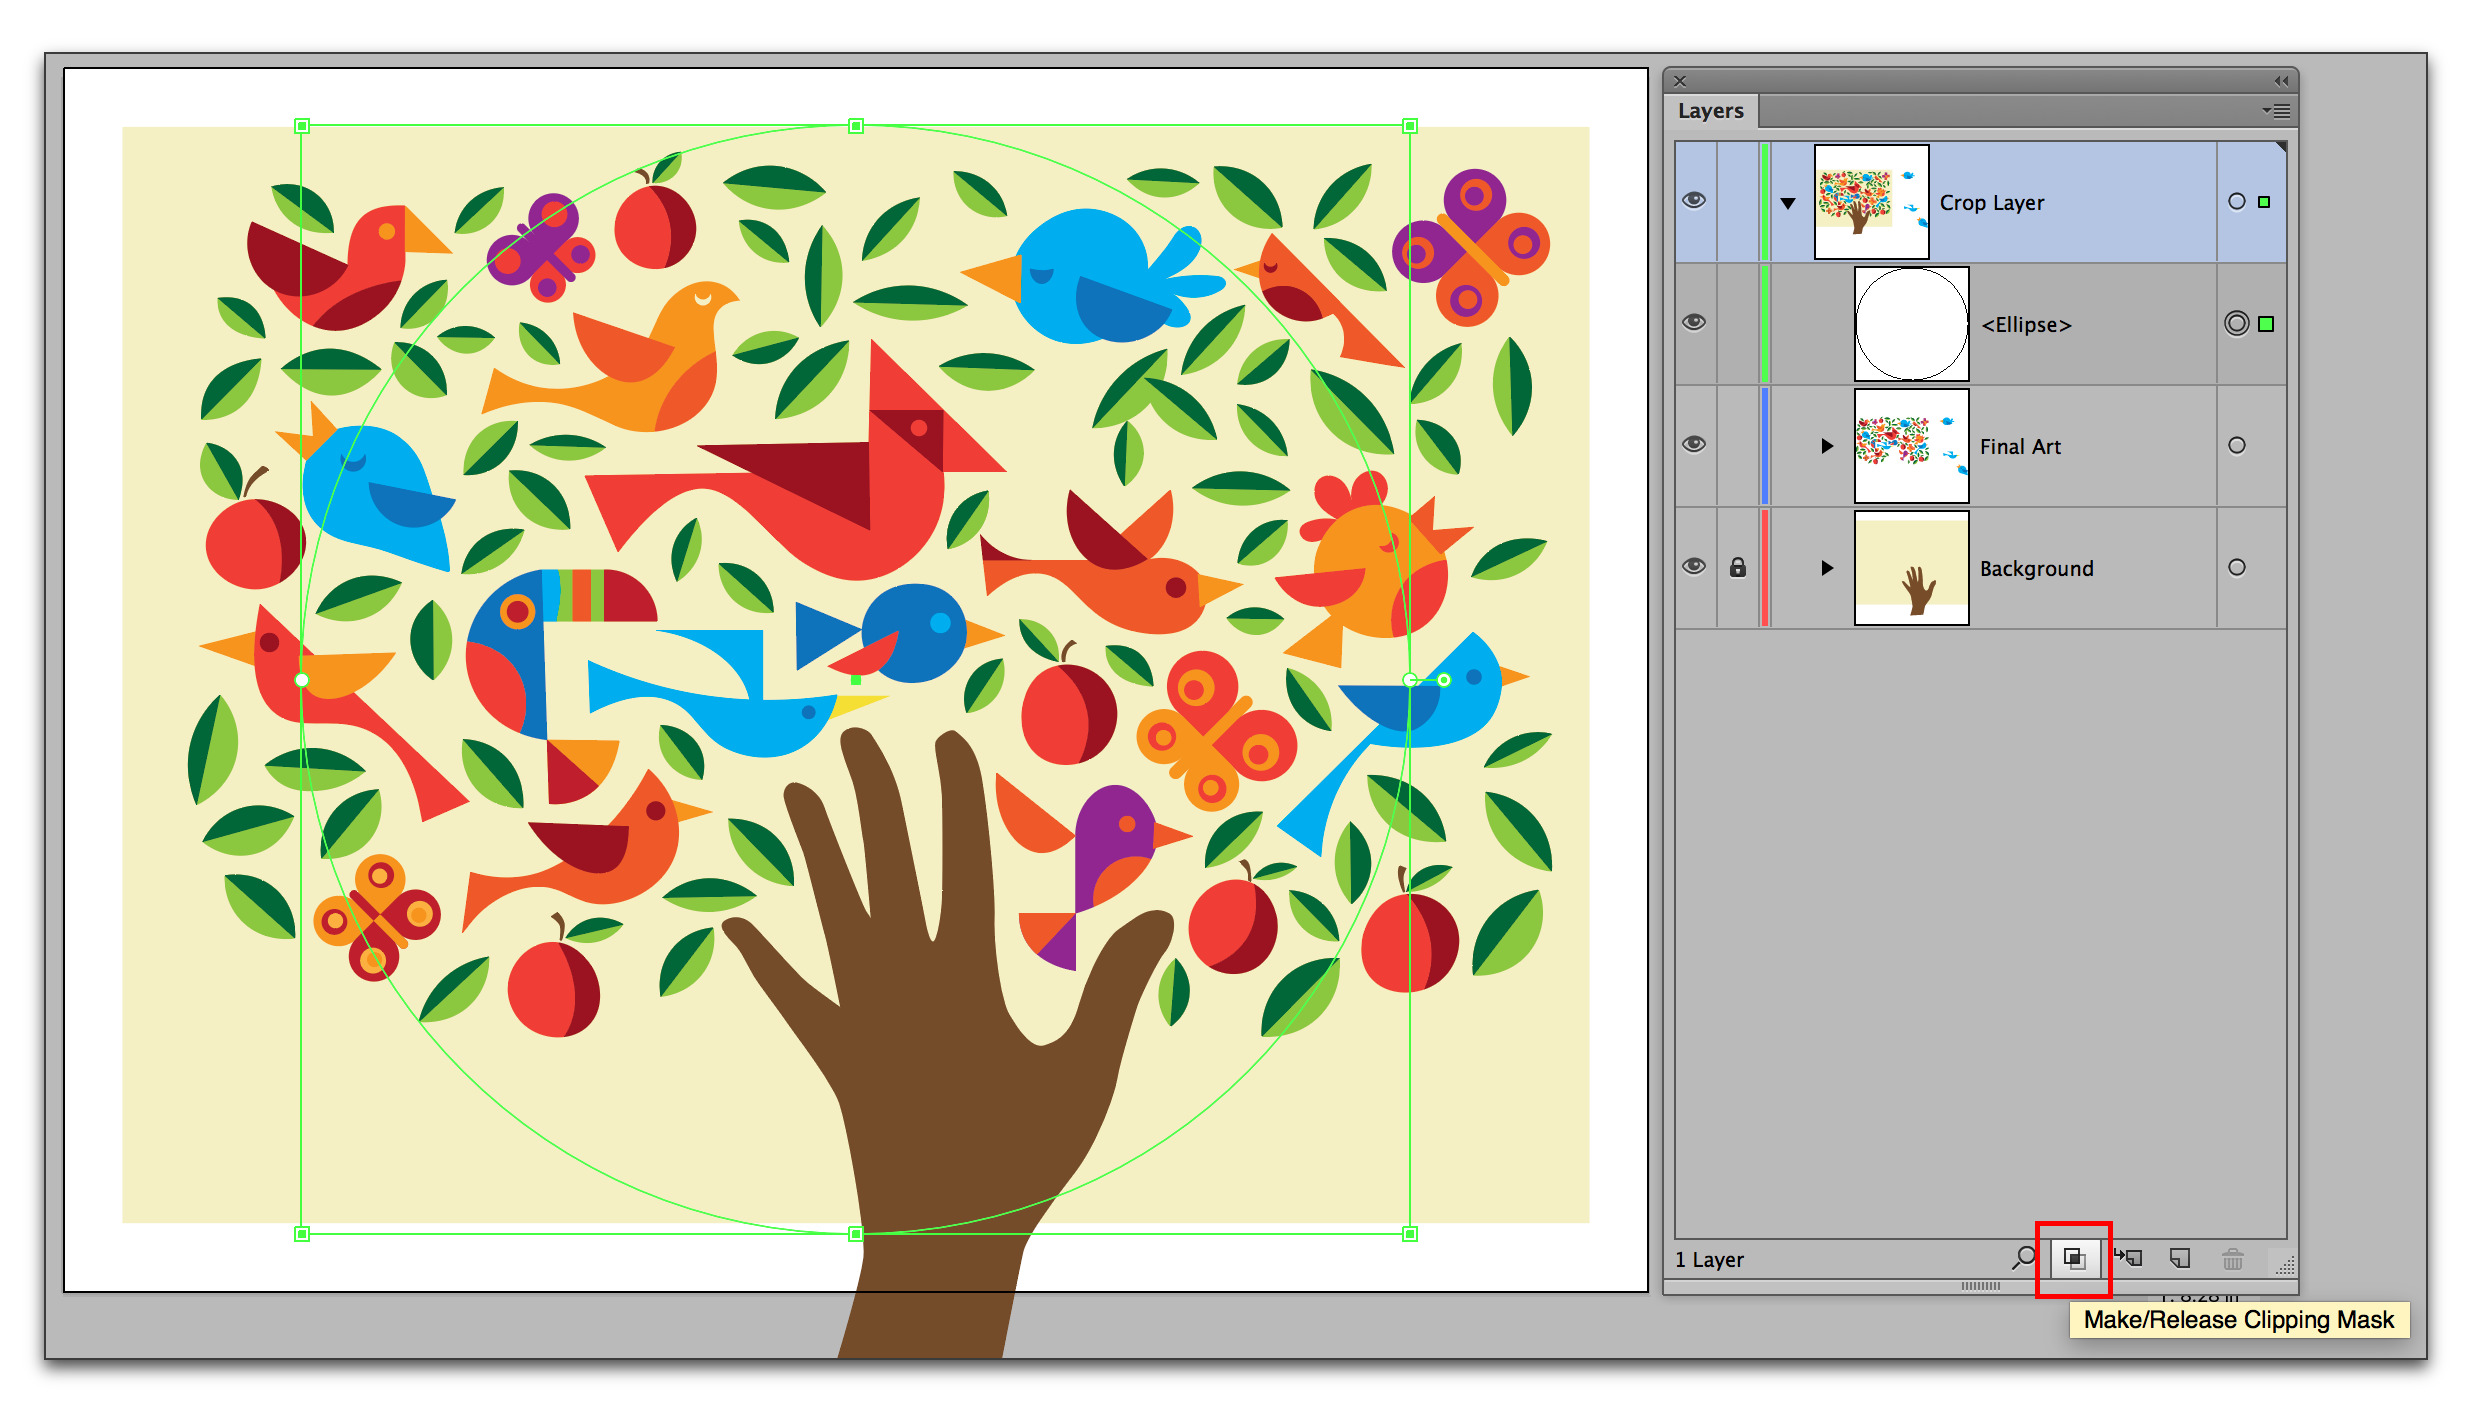
- In this example, I made a new top-level layer (using the Create New Layer button at the bottom of the Layers panel), and called it Crop Layer. It’s at the top of the Layers panel, and in the image below, it’s at the same level as the two art layers underneath.
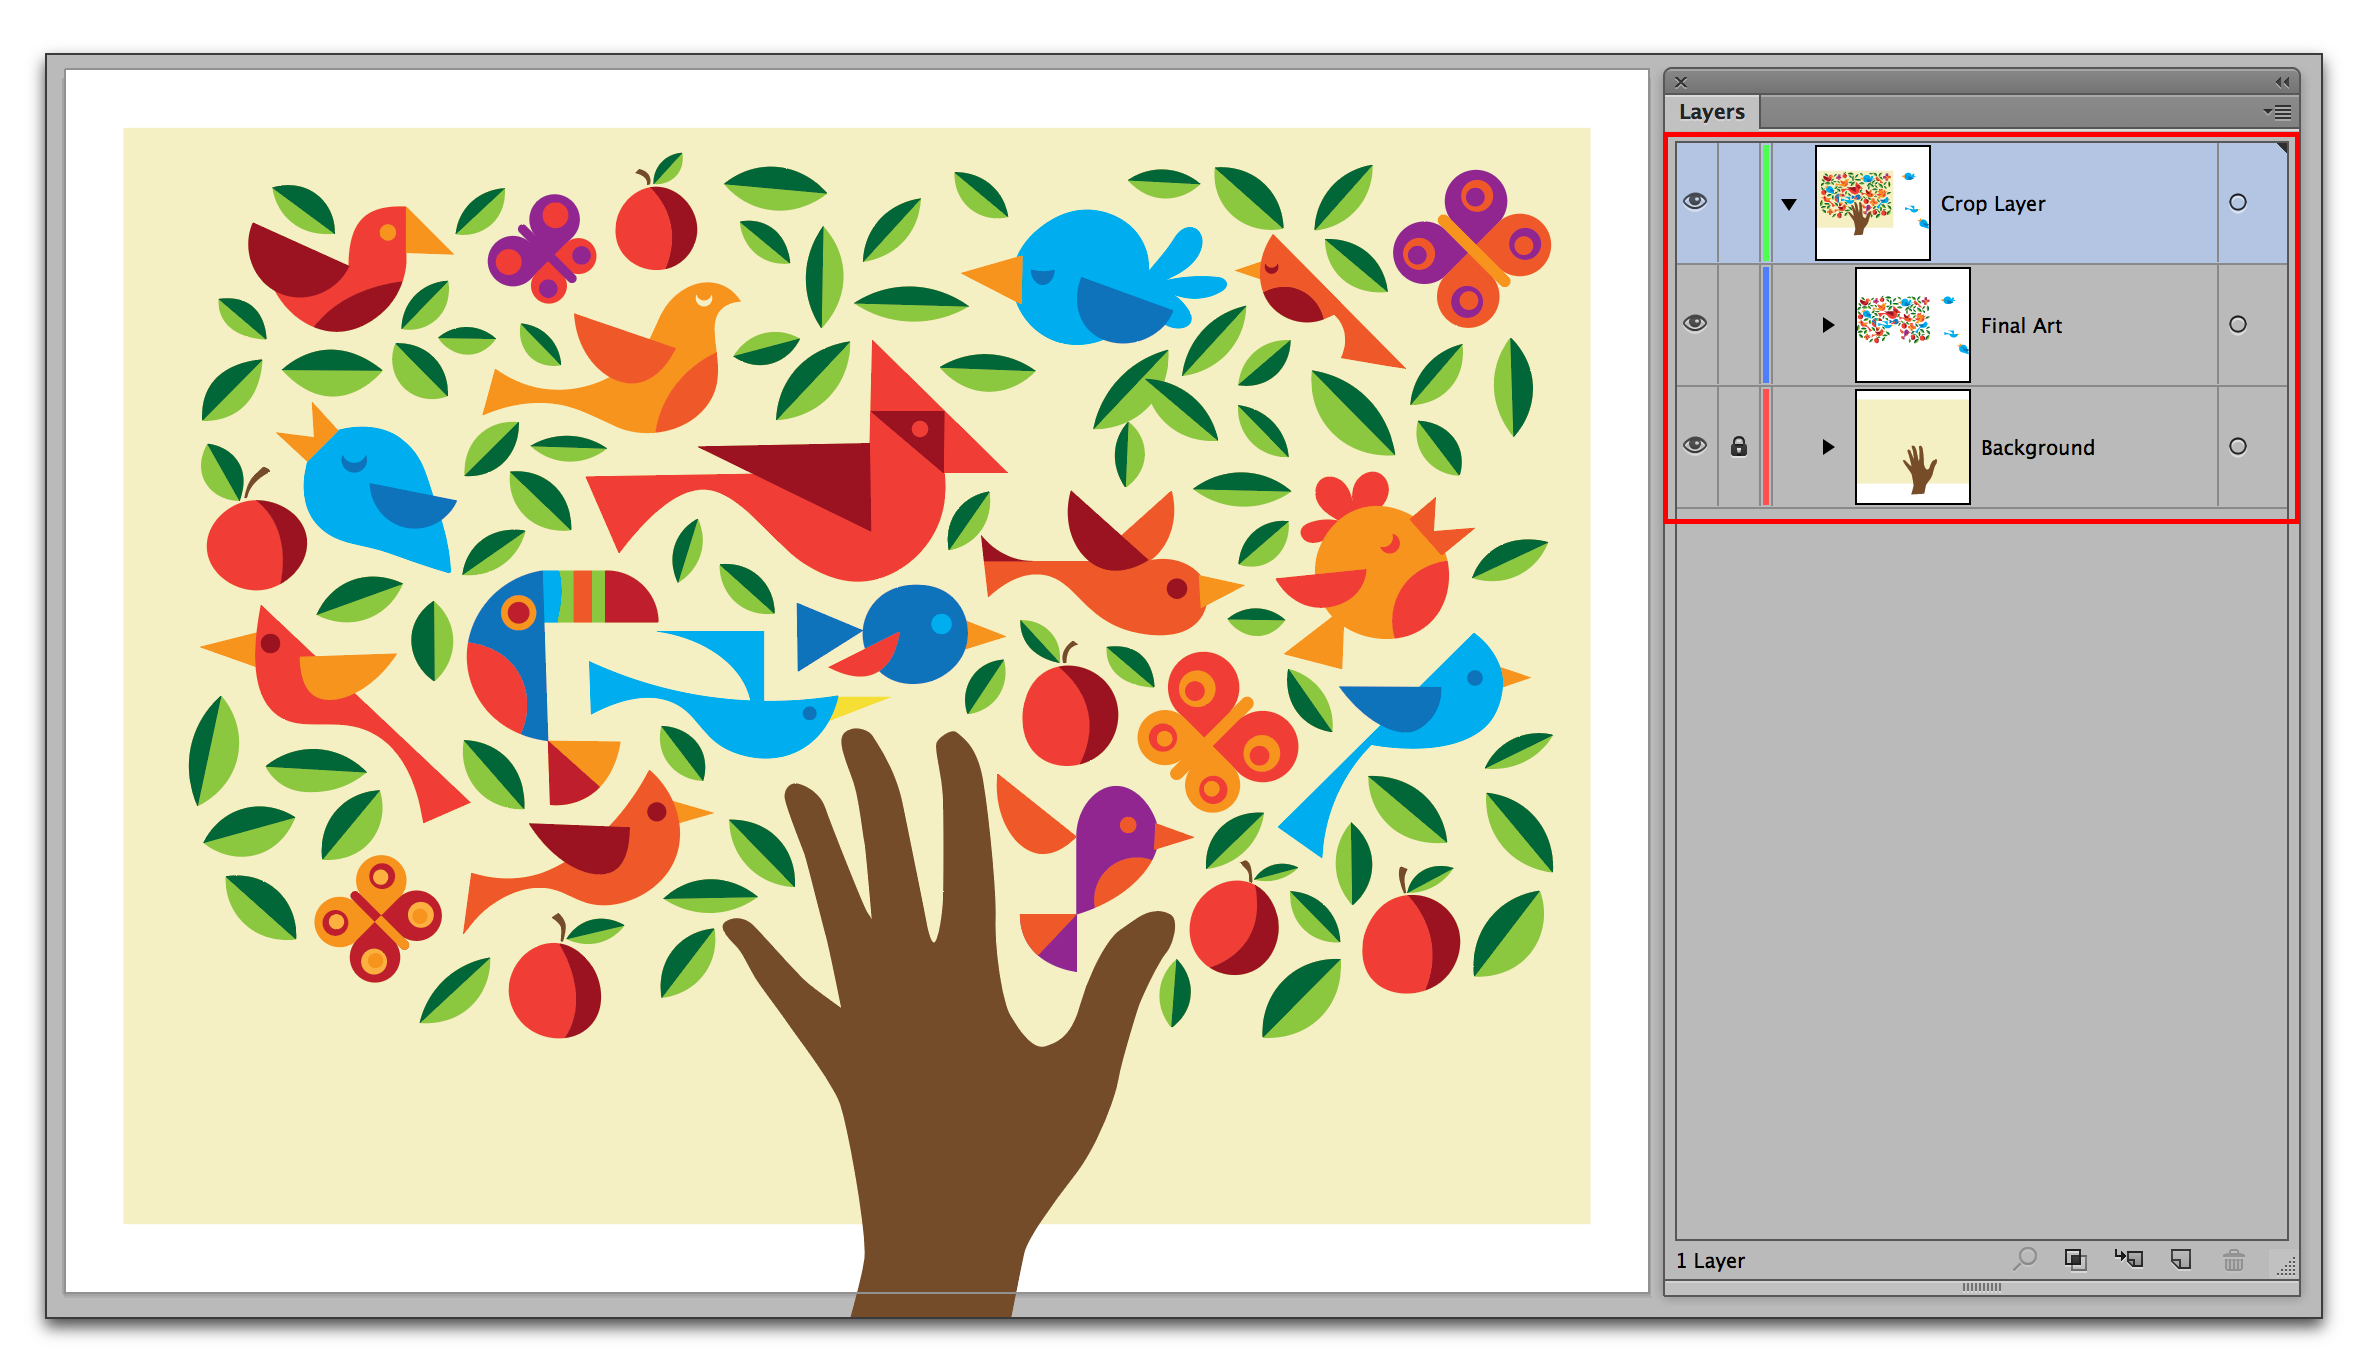
- The original artwork layers need to be moved into the top-level layer. You can do this with drag and drop: just make each layer active by clicking next to its name, and drag it over the top-level layer. Sub-layers are indented slightly to the right.
- Now you are ready to draw the mask shape. Make sure the top-level layer is active (on my system, active layers are highlighted in blue), and then draw and position your mask shape. I chose an ellipse, but you can use any shape you want.
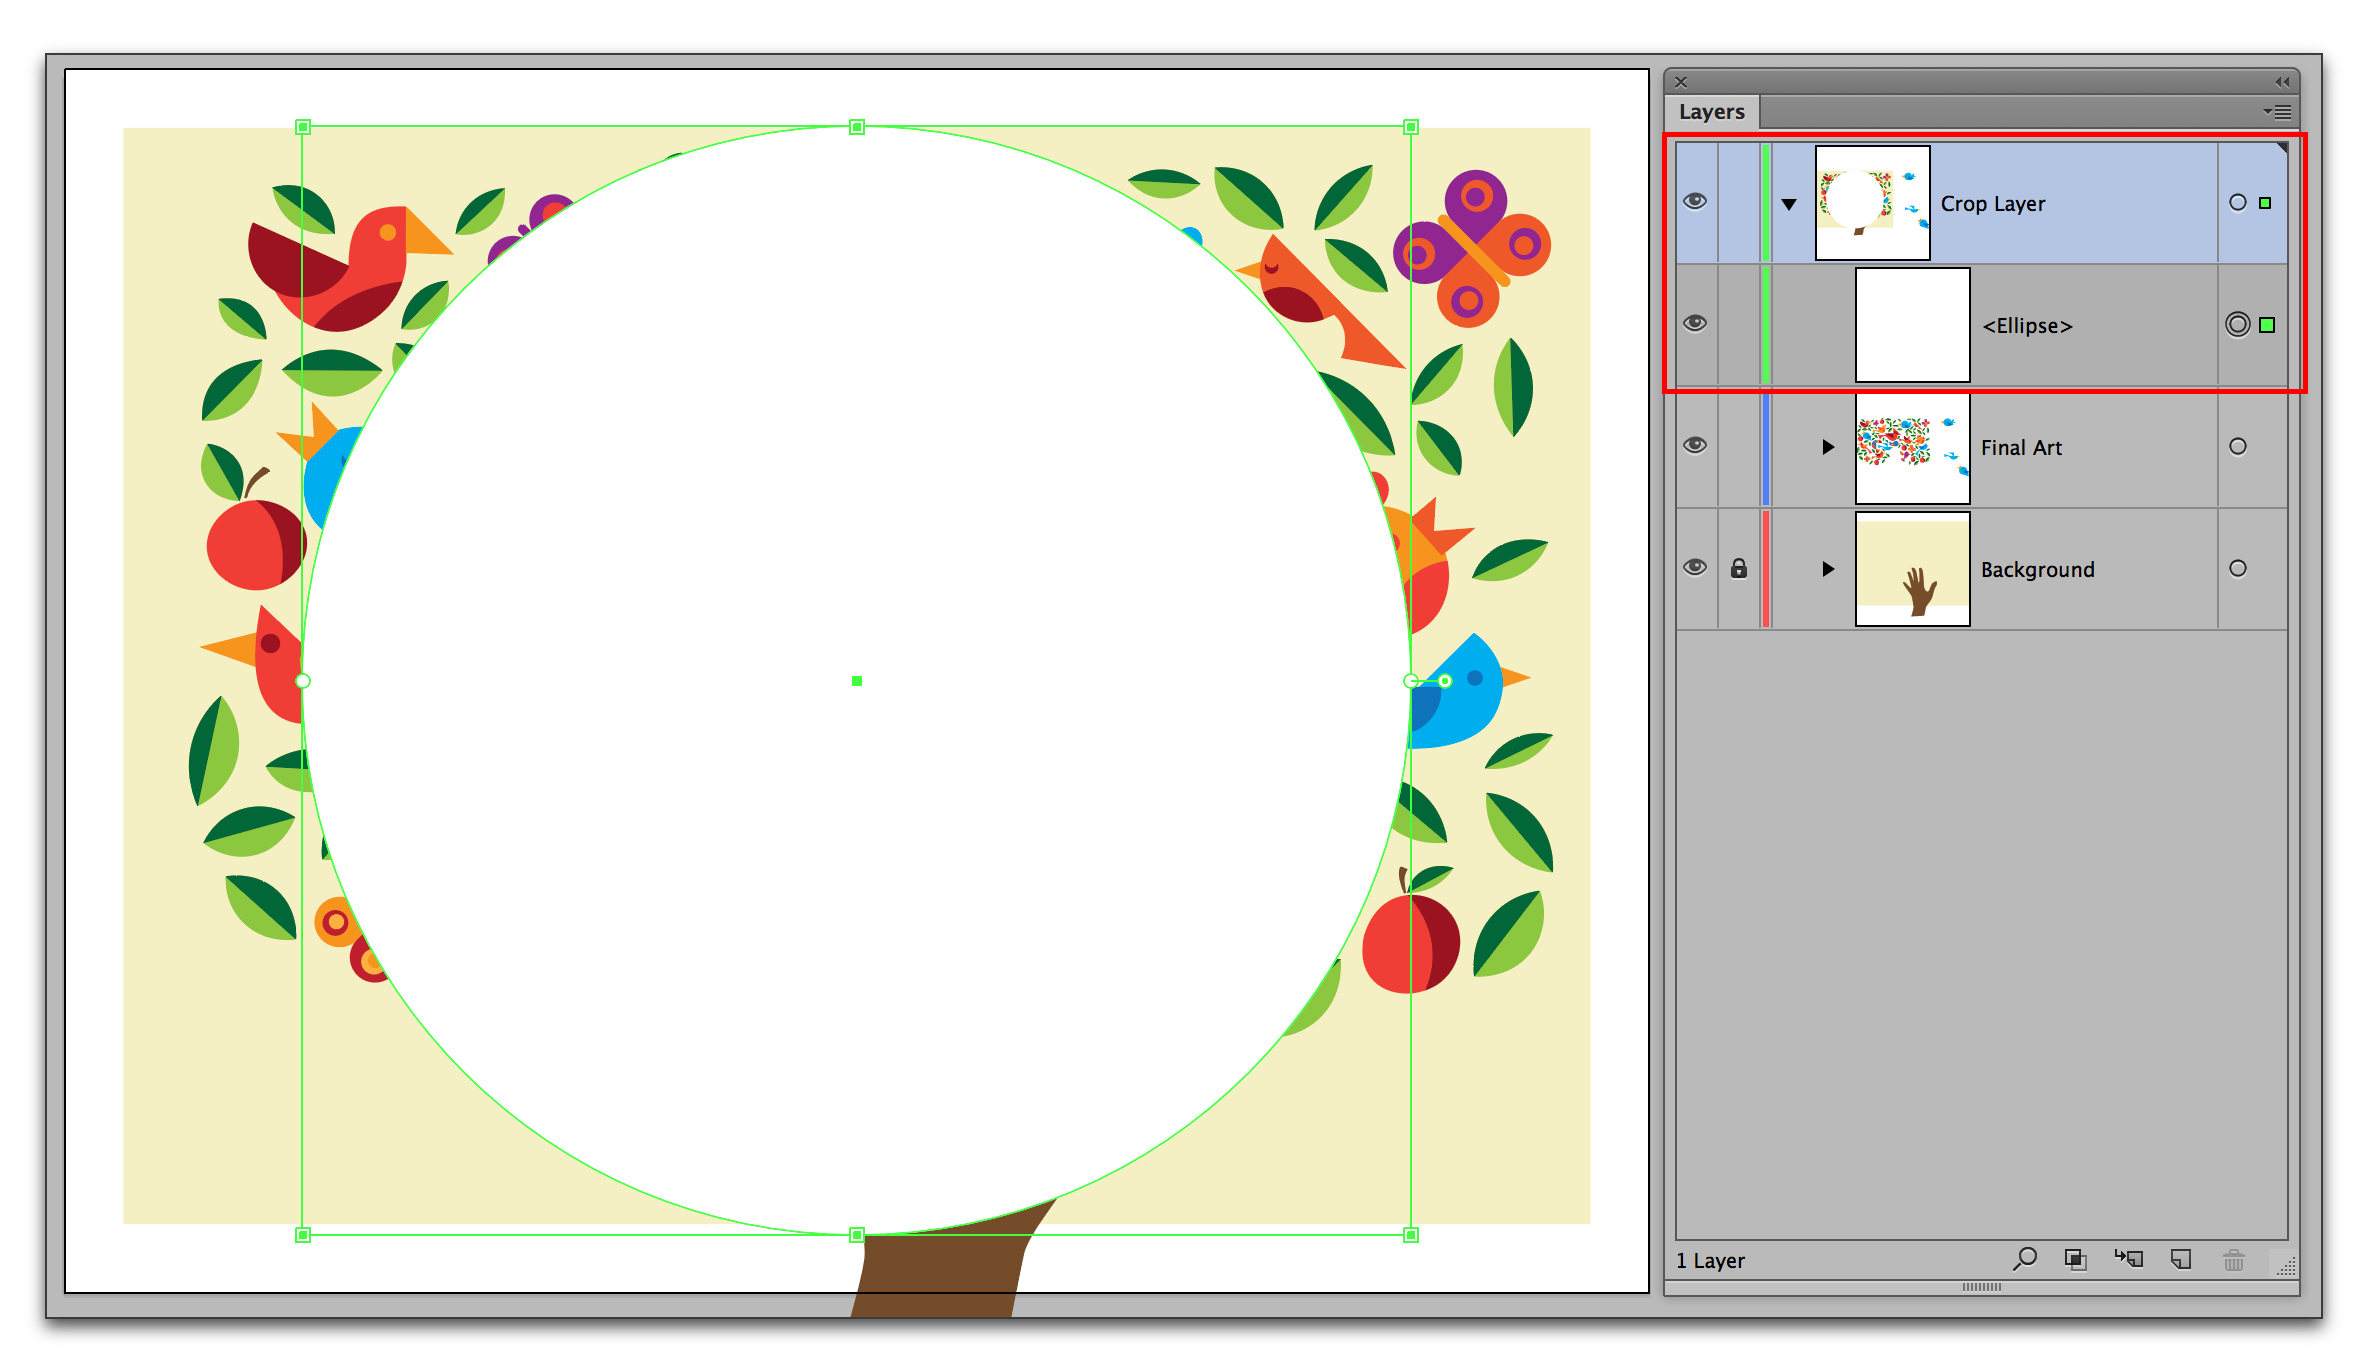
- With the top-level layer active, click the Make/Release Clipping Mask button at the bottom of the Layers panel.
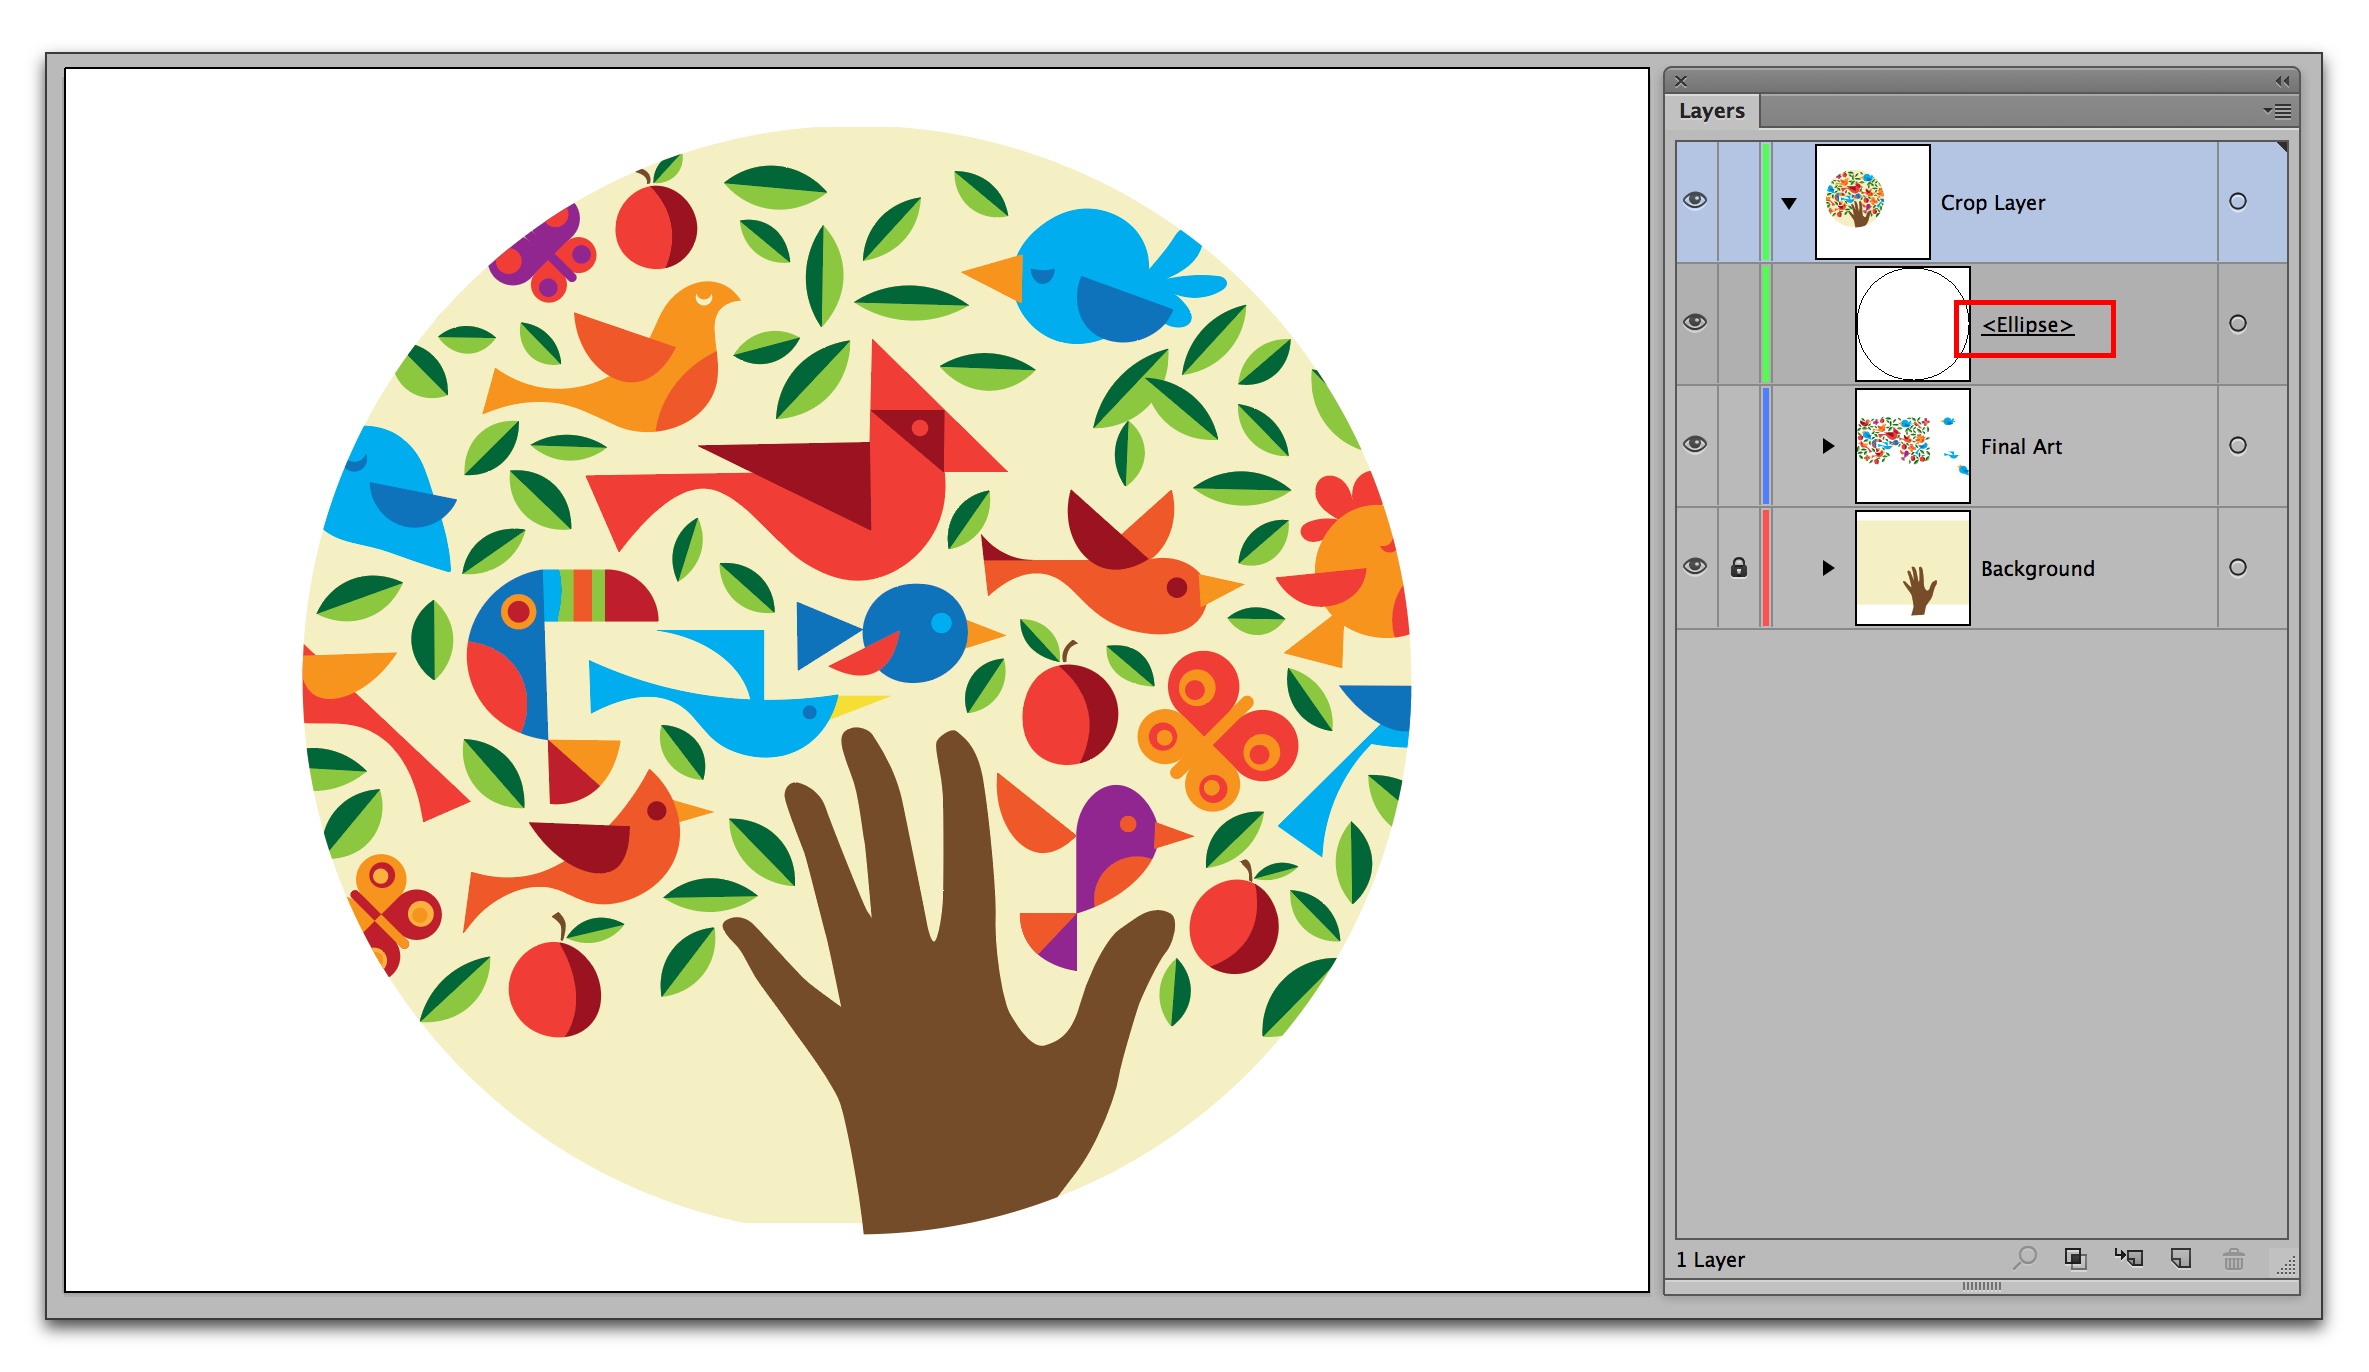
- Done! You can identify the masking object later by both its position in the Layers panel (directly under the top-level layer) and by the underline under it’s name. You can adjust the mask while it’s in place, but if this is new for you, you might release your mask, make your updates and remask. Making and releasing clipping masks always requires that you have the top-level layer active. The Make/Release Clipping mask button is a toggle: click to mask, click to release.
For information on masking a photo, see “Adobe Illustrator: How to Crop a Photograph“.
NOTE: In my experience, there are two primary reasons why this doesn’t work:
- The mask shape is not the very first sublayer under your top-level layer. (In my screen shots, the ellipse is sitting directly under the Crop layer. If necessary, drag your mask shape to the top of the other sub-layers.)
- The top-level layer isn’t active prior to clicking the Make/Release Clipping Mask button. (In my screen shots, Crop Layer has a blue background when active. Your colors may vary.)