Need training at your office? Request a quote for custom training.
Adobe Photoshop: Reversing a Vector Mask
by Barb Binder, Adobe Certified Instructor on Adobe Photoshop CS6
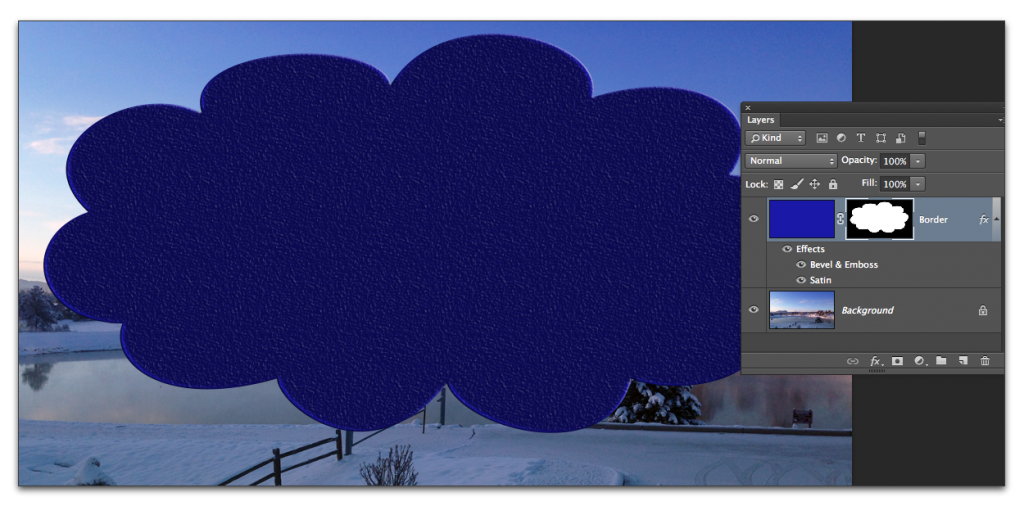
Such a simple request, but not one of Photoshop’s most “discoverable” features. As a regular user of (raster) layer masks, I know that I can select a layer mask and choose Image > Adjustments > Invert (Cmd+I) to invert the display to quickly change a mask from this:
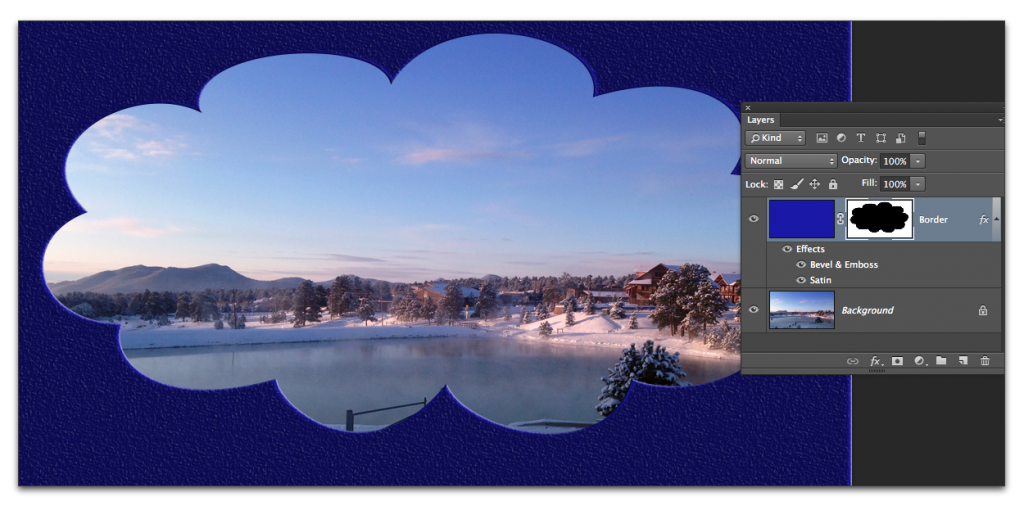
to this:
Remember that when it comes to layer masks, black conceals (the pixels on the masked layer), while white reveals them. There’s nothing wrong with layer masks, but sometimes vector masks are a better solution. Vector masks have the advantage of crisper edges, and they are completely editable using Bezier curve-editing skills. This afternoon, I needed a vector shape to reveal the pixels on the layer below, but I kept getting the opposite result, much like the top image, above.
Can one reverse the default vector mask behavior? Yes, but you do it as you create the mask.*
- Open a document with two stacked layers.
- Drag the layer you want to show under the layer you want to mask.
- Use the Pen tool, the Freeform Pen tool or one of the shape tools to draw a path. Don’t forget to set the Tool Mode to Path in the Options bar before you start drawing your mask.

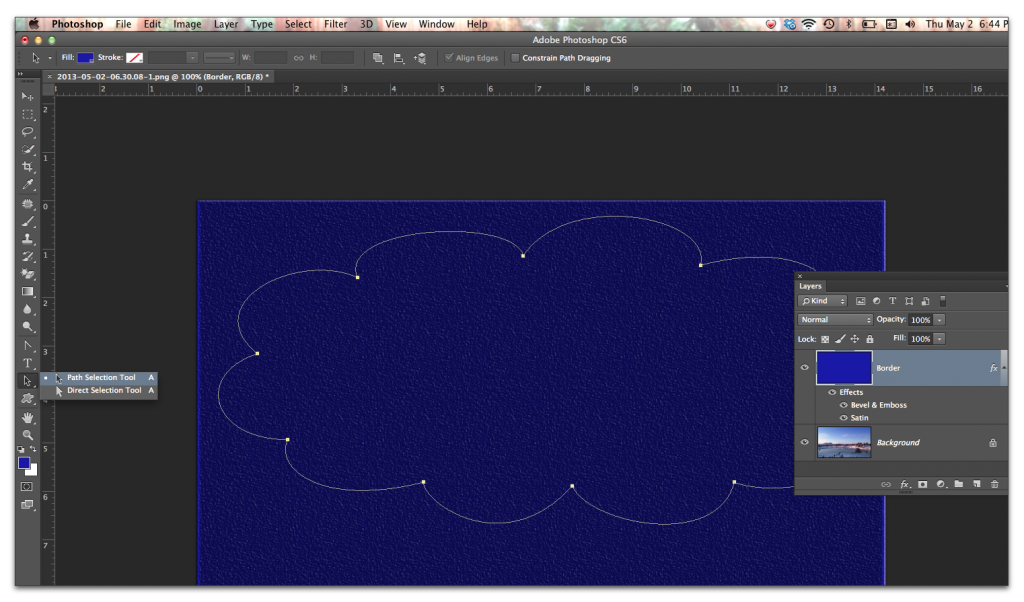
- Use the Path Selection tool to select the path.

- Choose Subtract Front Shape from the Path Operations menu in the Options bar.

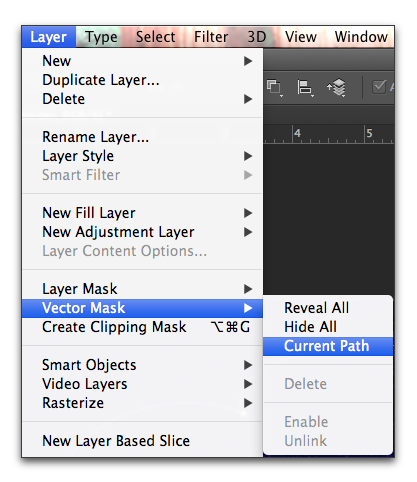
- Choose Layer > Vector Mask > Current Path.

The result is a mask with white background and a gray shape. With vector masks, gray conceals (the pixels on the masked layer) and white reveals them.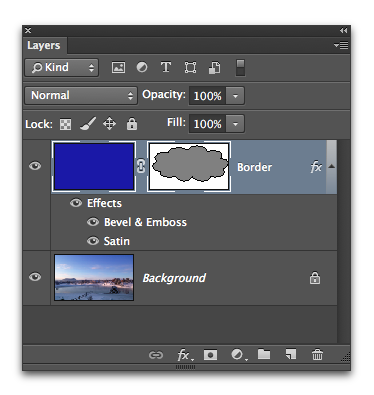
I’ve used Photoshop for years, and never needed to reverse a vector mask to achieve the desired result, until today. If you just want to create a normal vector mask, follow steps 1-3 and skip to 6. If that produces the exact opposite of your intended mask, delete the mask, and follow steps 1-6.
* If you already have a mask, and want to invert it, open the Paths panel. Copy your vector mask to a new path, and delete the original mask. Pick up with step 4.


Thank you so much for posting this article. It was a huge help. When you need an inverted vector mask, you really need it!
I don’t see a Path Operations menu anywhere.
It’s on the Options Bar directly to the right of the H text box.
I found it. Thanks!
Thanx. As soon as you find out, it makes perfect sense and it is very, very usefull.
There’s also this black part when using vector masks, may you explain it to me? It seems like it functions the same as white because it reveals the part of the image when it is black. Looking forward to your reply, thank you. 🙂
Vector masks are white and gray. The black represents the edge of the vector shape, and only appears when the path is selected.
~Barb
Thanks – I’m with Justin – An inverted vector mask is just what I needed! The 1000 other solutions all change it to a raster selection!
Thank you thank you! Super easy tutorial!
Great tip, thanks!
Just found a dead simple way for an existing simple mask such as your example. Select the mask in the layers with pen tool selected and you can see the path of your mask, now draw a box around the edge of your image (doesn’t need to be neat just outside of visibility) and it should invert your mask.
Great tip, Charlie! Thanks for sharing,
~Barb