Need training at your office? Request a quote for custom training.
Adobe InDesign: Signaling the End of an Article
by Barb Binder, Adobe Certified Instructor on Adobe InDesign CS6
Multi-story publications like newsletters and magazines often have stories that jump across pages. In a multi-story publication with jumps, it is helpful to add an end sign to signal the end of the story to the reader. It’s a two-step process: first, select the appropriate symbol, and second, figure out where to put it.
Select an Appropriate Symbol
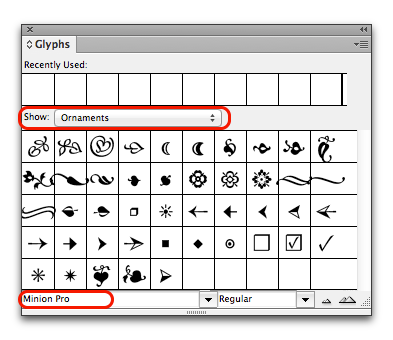
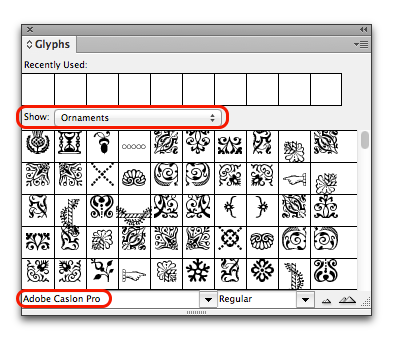
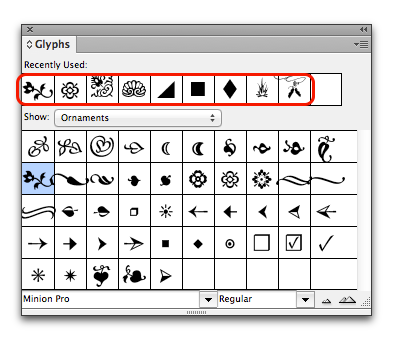
The first step is to pick a simple icon to indicate the end of the story. You could use a small image (perhaps your company logo, if it reads well at a small size), or any number of symbols found the Glyphs panel in InDesign. To see some of the options, choose Type > Glyphs. Many of the OpenType fonts will have ornaments to choose from. Here are some ornaments found in Minion Pro and Adobe Caslon Pro:
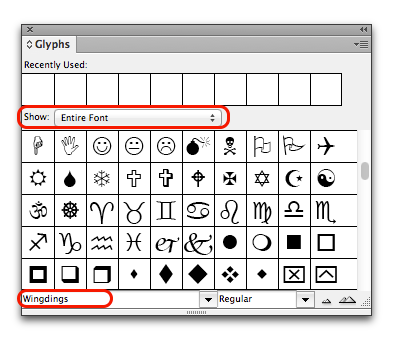
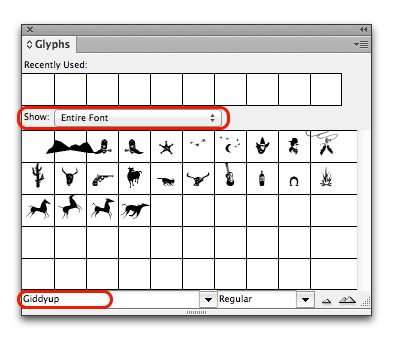
You could also look through some of the ornament-specific fonts like Wingdings and Webdings, and if (and only if) you work on cowboy-themed magazine, you might consider Giddyup Thangs.
As you locate ornaments that you think might work in your publication, double click them and they will be added to the Recently Used row, shown at the top of the Glyphs panel. To add them to the end of your document, just place your cursor at the end of each article, and double click your favorite symbol to add it to the file.
Position the Symbol
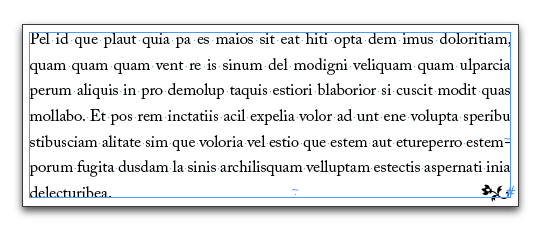
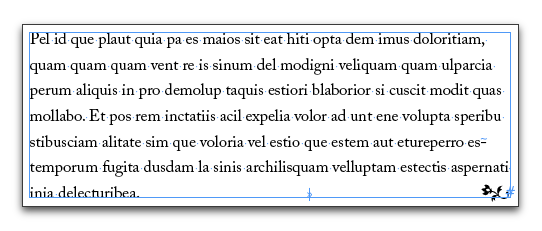
You have two choices for positioning the symbol. You could put it directly after the final punctuation in the story, or you could flush it against the right margin. If you want to position the symbol against the right margin, there are two easy ways to make it happen (and neither one involves pressing and holding the spacebar to manually scoot it across).
If the paragraph is set to Justify all lines, add a flush space. Just place your cursor in front of the symbol and choose Type > Insert White Space > Flush Space. The purpose of the flush space is to add as much space as necessary in a fully-justified paragraph to push the end sign all the way to the right edge of the frame.

However, a flush space acts like a normal space if the paragraph is left-aligned. In that case, just add a right indent tab. Place your cursor in front of the symbol, and choose Type > Insert Special Character > Other > Right Indent Tab. Poof! Everything after the Right Indent Tab character shoots to the right margin.

Perfect! Quick and fast explanation. Thank you.
Thanks for this.
You begin by saying “You could use a small image (perhaps your company logo, if it reads well at a small size),” but then the entire tutorial is how to use a dingbat that exists in typography.
Is there a way to do this with an image?
(If you see this, thanks for noticing almost 5 years after your original post.)
Hi MaryAnne:
I’m still here after all these years. Two options:
Either technique makes the graphic an inline image.
~Barb
Thank you, I completely forgot about the Right Indent Tab. 🙂