Need training at your office? Request a quote for custom training.
Adobe InDesign: Layer basics
by Barb Binder, Adobe Certified Instructor on InDesign
If you are an Adobe Photoshop user, you already know that the use of layers is critical to your Photoshop workflow. In InDesign, layers are optional. They are an organizational tool that some users take advantage of, and others choose to ignore. Using layers (for the most part) is a choice in InDesign and not a necessity.
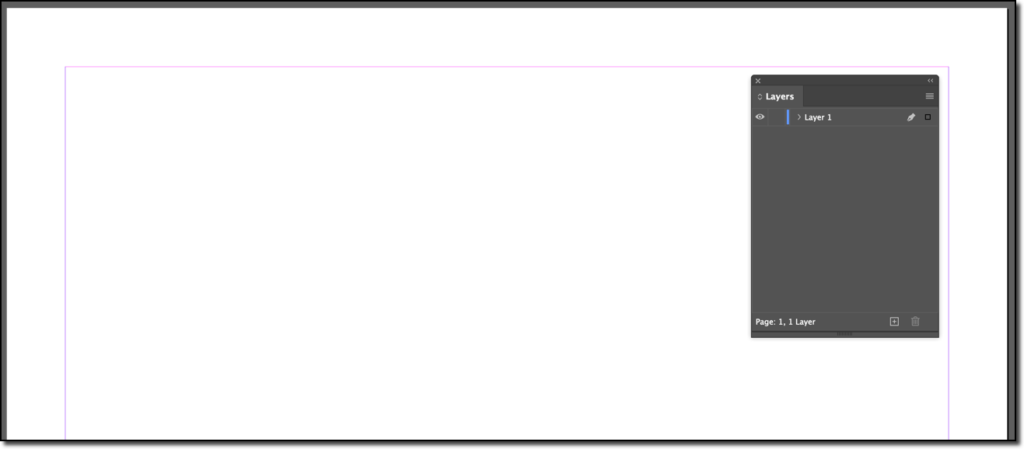
In any new document, InDesign creates a single layer called Layer 1. It is visible when you open the Layers panel with Window > Layers. It will be visible, unlocked and assigned the default color of blue.
As you begin adding design elements to your spread, InDesign adds these elements to your Layers panel. The reason frame edges are blue is because unless you tell it otherwise, InDesign adds your elements to Layer 1, which defaults to blue. ( If you ever see other frame edge colors in your document, you now know that whoever set it up was using layers.)
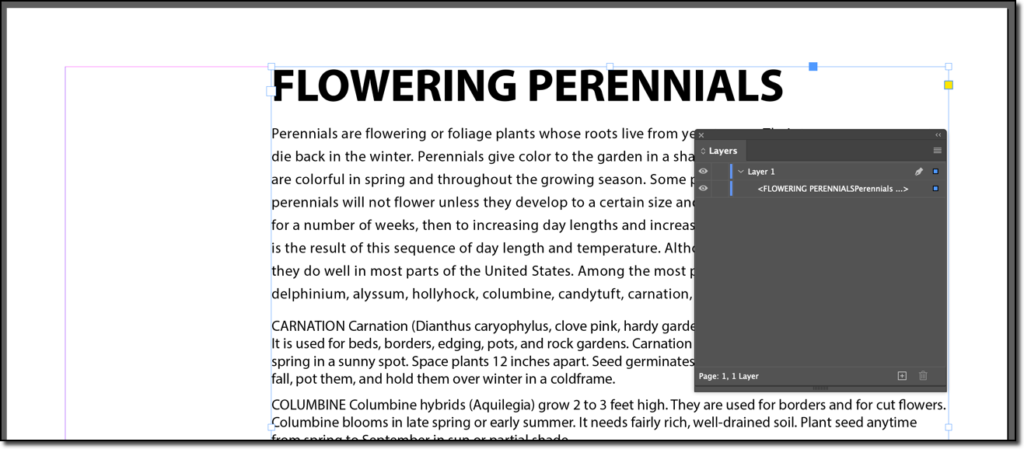
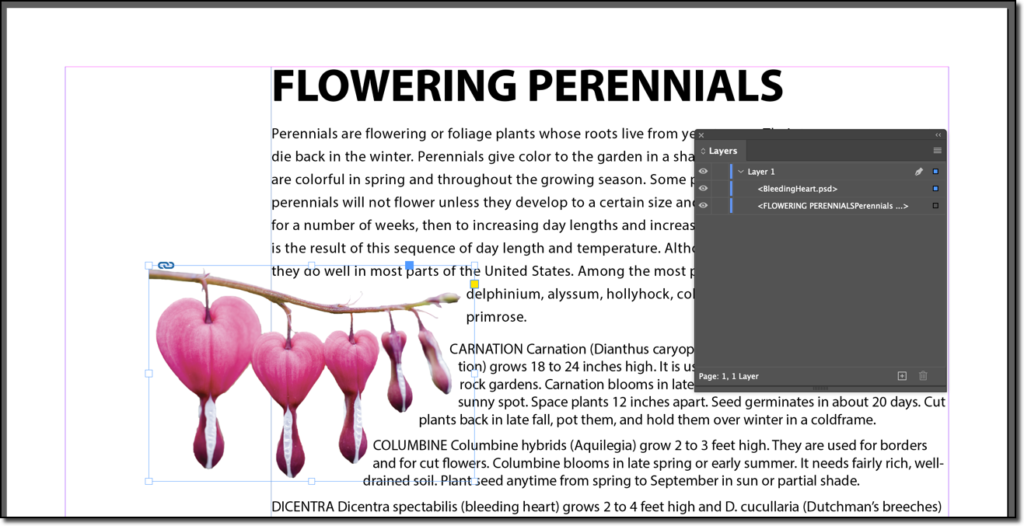
Additional elements are added above the earlier elements, always on Layer 1. Here’s a subtle tip: you can see what item is selected by glancing at the Layers panel. There will be a small blue square to the right of the selected element. It works both ways: you can select an item on the page by clicking the square in the Layers panel.
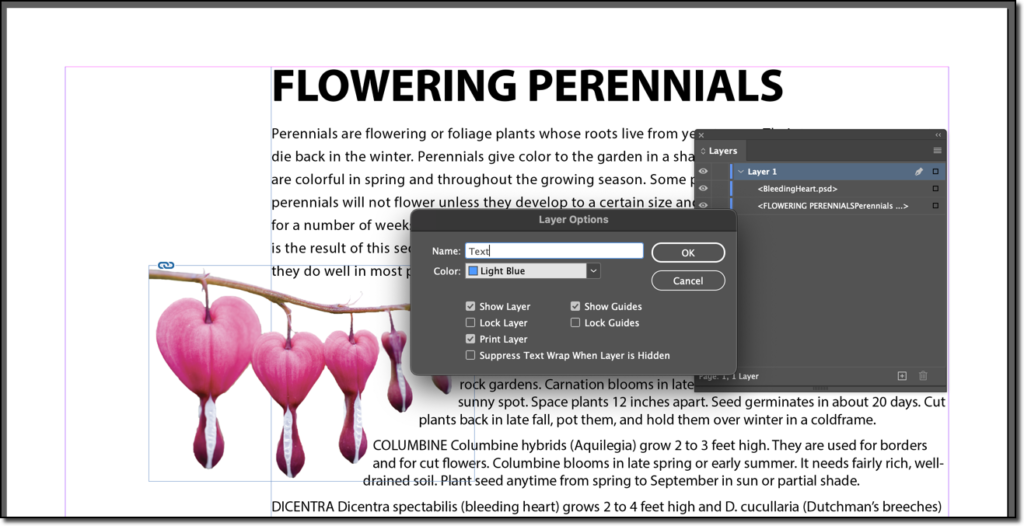
You can continue to use InDesign as is, or you can choose to get organized by managing the layers. For example, you can rename a layer by double clicking the layer name, and control additional layer properties, including the color.
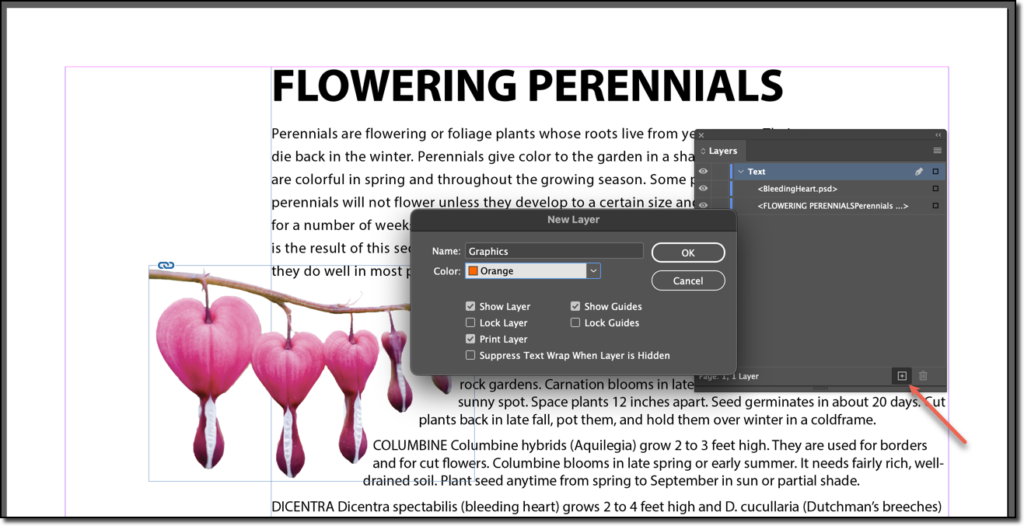
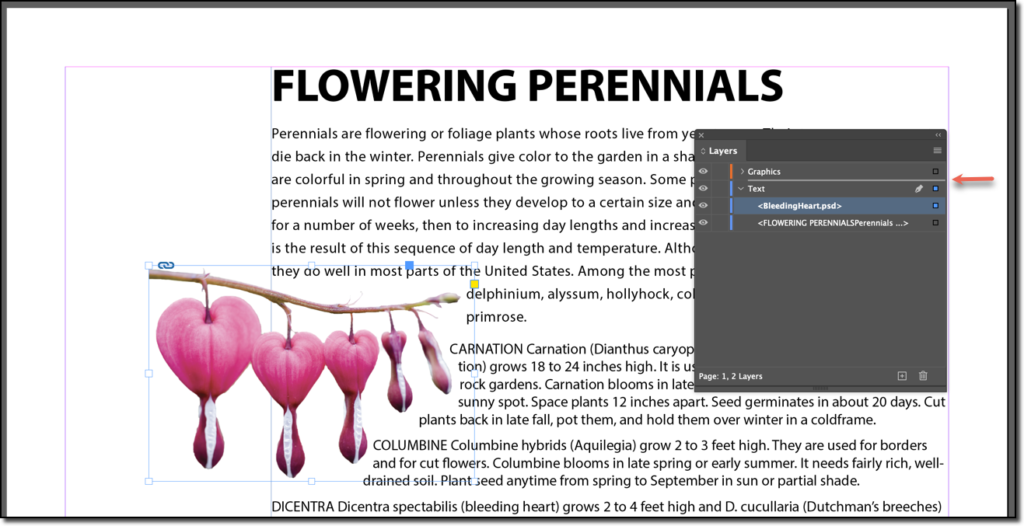
You can additional layers (and define their properties) by Alt/Option clicking the Create a New Layer button at the bottom of the Layers panel.
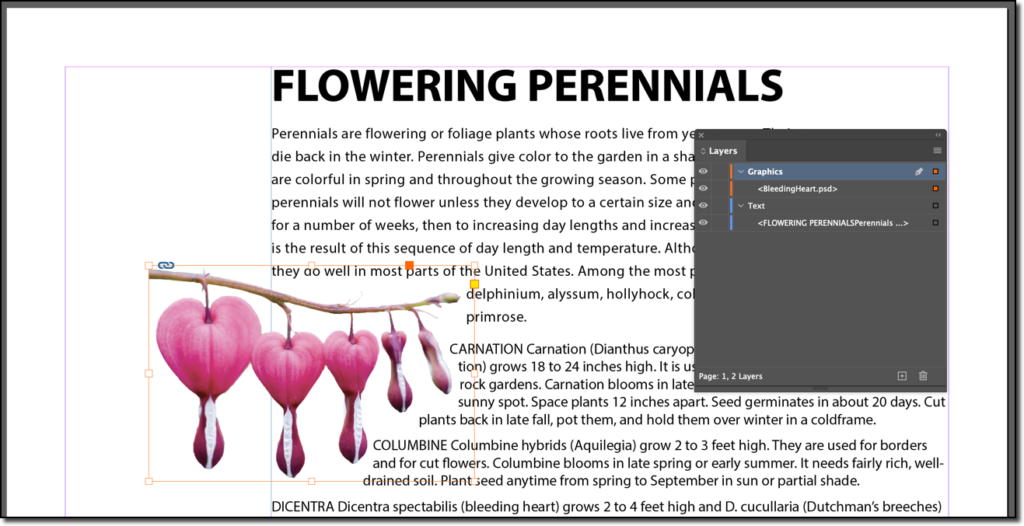
And move items from one layer to another using drag and drop.
Note that the selection dot (the little square on the far right of the layer) also changes to the layer color.
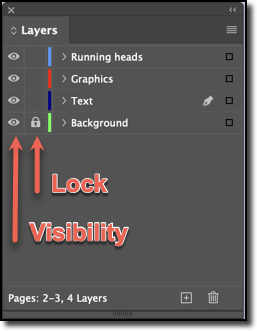
But why do this if you don’t need to? I think part of it comes down to the fact that some of us are more organized than others. Some might find it helpful to organize a document into multiple layers so that they can easily hide and show layers (by clicking the eyeball in the first column of each layer.) Or to lock and unlock layers or elements within a layer (by clicking the padlock in the second column to lock and unlock layers).
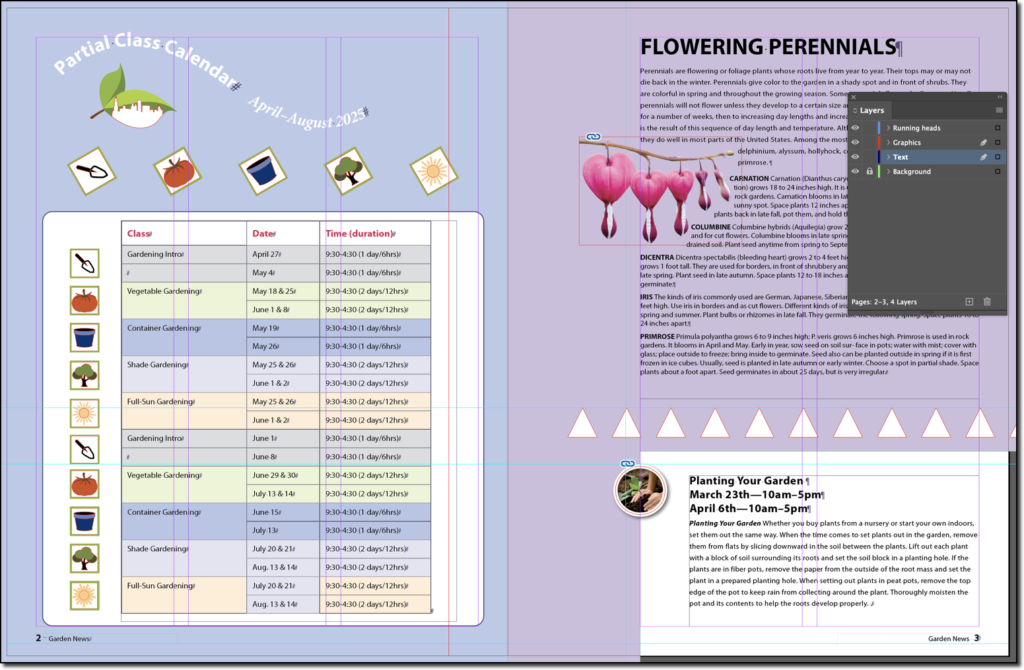
Here’s a closer look at the visibility and lock controls.
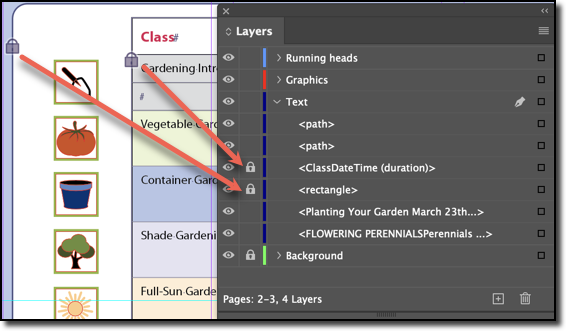
Note the difference between the display of the locked layer (Background) vs. the individually locked elements within the Text layer. Frames will display a padlock icon near the top left corner when View > Extras > Show Frame Edges is enabled. Locked layers aren’t so friendly. The only way to know that they are locked is to look at the Layers panel.
One more important tip about working with Layers: Object > Arrange > Bring to Front and Send to Back work within a layer. They do not work across layers. If you are using multiple layers and need to move something further up the stack, you’ll to adjust the layer order, or move the item from one layer to another.