Need training at your office? Request a quote for custom training.
Adobe FrameMaker: Setting Tabs, Part I
by Barb Binder
Why are people afraid of setting tabs? Since 1988, I’ve taught Word, PageMaker, Ventura Publisher, InDesign and FrameMaker classes, and most of my students walk in the door afraid of tabs. It’s one of life’s mysteries, and so I always try to set aside some time to address it in class. Here’s your motivation to keep reading: once you master tabs in one program, you use the same logic in all the others.
The first trick to mastering tabs is to stop relying on the default tabs every half inch. FrameMaker makes that easy, by not offering you default tabs for the Body format. The second trick is to add just one tab between columns (not 2 tabs, or tab space tab, or any other combination). Let’s give it a shot:
- Create a new, portrait document.
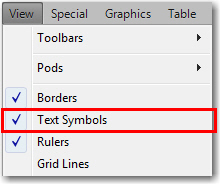
- Make sure that your text symbols are showing by looking for a checkmark in front of View > Text Symbols. If not, click on Text Symbols to activate the command.

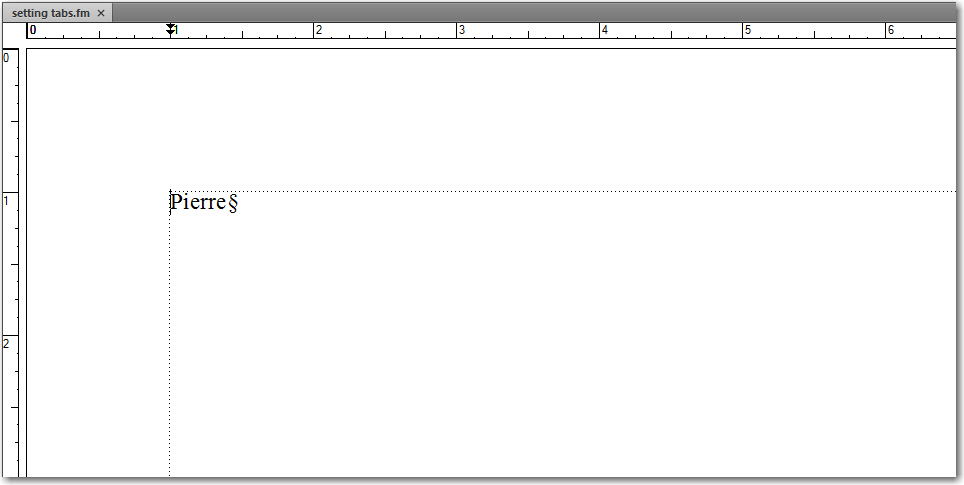
- Type Pierre on the first line, and press the tab key once. Hey! The cursor didn’t go anywhere. That would be because there are no default tabs in the Body format.

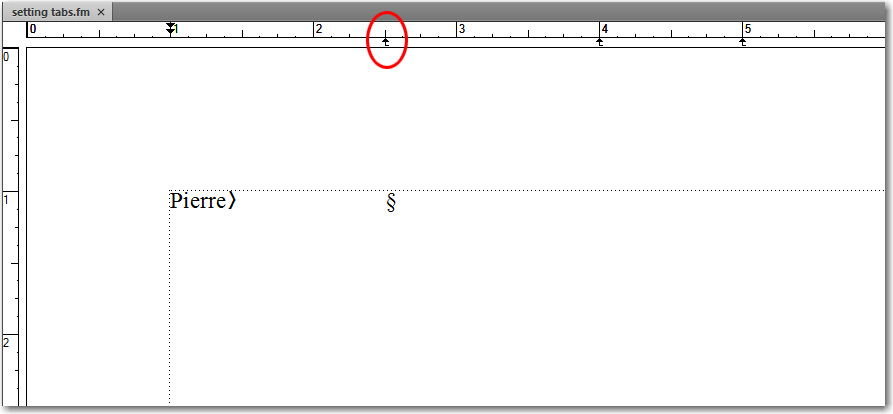
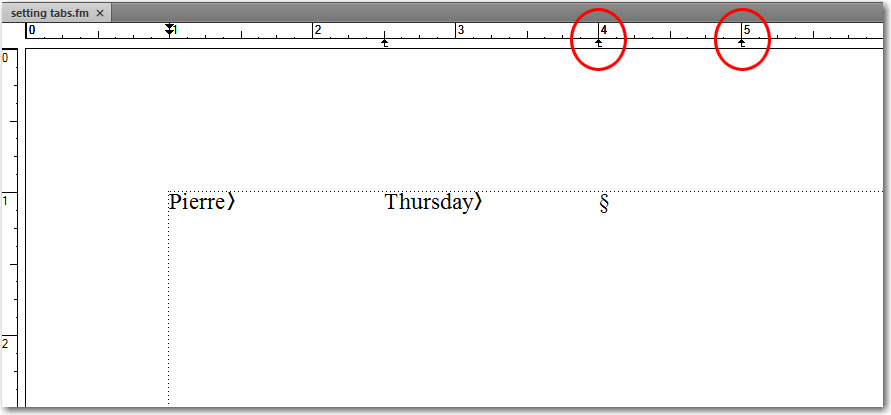
- Click your mouse just under the 2.5 inch mark on the vertical ruler. That little arrow that just appeared? That’s your first tab. Notice how your cursor jumped to that position.

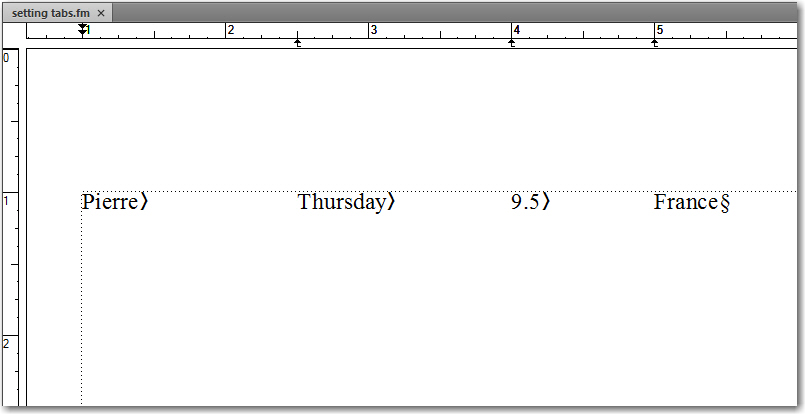
- Let’s type in Thursday and press the tab key again. Again, no cursor movement, so go ahead and click under both the 4 and the 5 inch marks.

- Type in 9.5, press the tab key once, and type in France.

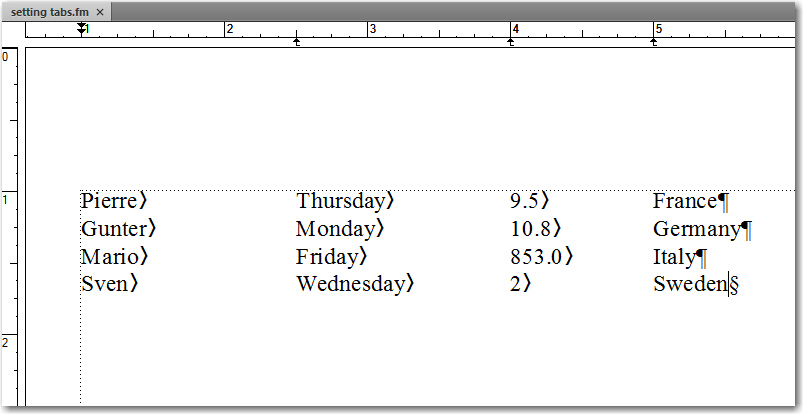
- Press Enter and complete the table, as shown below:

When you finish typing, click the Update All button in the Paragraph Designer to update the Body format, and Remove Overrides. (In a real project, I’d make a new format for the table, but we are just trying to figure this out, so we’ll use Body here.)
That wasn’t so bad was, it? But, all of the columns are left-aligned. I’d like to change their alignments to match this:
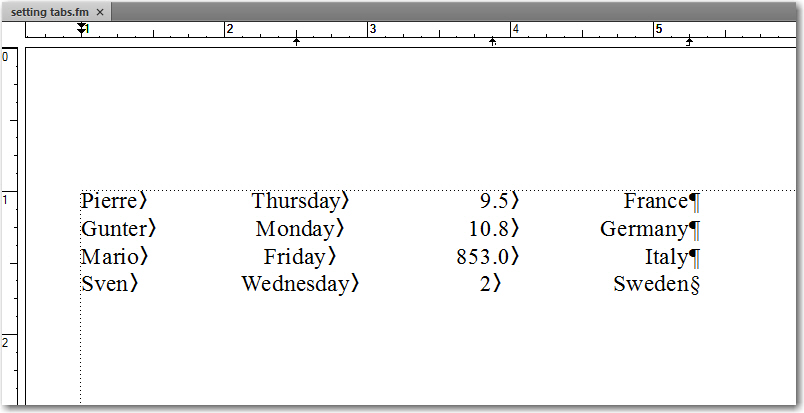
Want to learn how to refining the column alignment? Better read Adobe FrameMaker: Setting Tabs, Part II.
Thanks for this useful tutorial on setting tabs at Adobe FrameMaker, I am new at this software but thanks to different tutorials available on the web including this one, I m improving bit by bit. Thanks again, Barb.
Thanks for these extremely useful lessons. I’m teaching myself how to use FM and for every query I google, I end up on your website as I find the way you present the information to be very clear and easy to understand.
Thanks again.