Need training at your office? Request a quote for custom training.
Adobe Acrobat X: Adding Description Fields to Document Properties
by Barb Binder
It’s easy to ignore the Description tab of the Document Properties dialog box in Adobe Acrobat. You may never even think about it as you create, enhance and review your PDFs. But if you start amassing a large collection of PDFs, that would be a grave mistake. The Description fields are easily searched (both locally and online) and taking a few minutes to fill them out as you go will save you the headache of realizing a few years down the road that you should have been doing it all along. My personal rule is to make sure I get those fields filled out when I make a PDF. I set the fields up in advance for files created in InDesign, FrameMaker & Word, so that they are saved with the source file and simply appear each time I create a PDF.
The general steps are the same for all three applications (and many others that I won’t address in this post). Basically, it’s:
- Open up a native file in your source application.
- Determine where to enter the description fields.
- Create the PDF.
- Open the PDF in Acrobat or Reader.
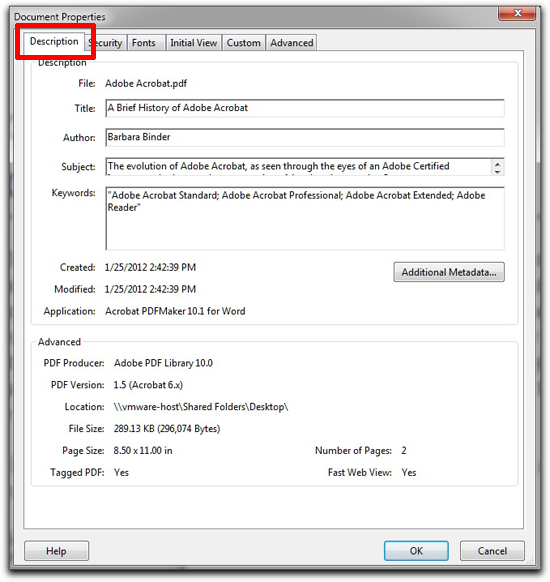
- File > Properties > Description to view the fields.
For the specifics on setting this up in InDesign, FrameMaker & Word, read on.
Adobe InDesign
- Open any InDesign document.
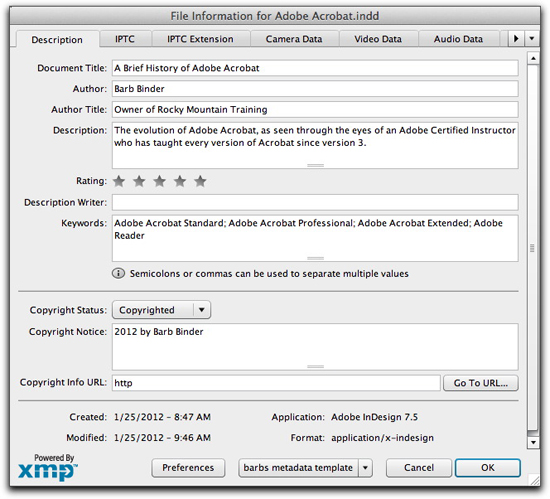
- Choose File > File Info > Description (Mac & Win) and fill out the description fields and click OK.

- Use File > Export to create the PDF document.
- Open Acrobat or Reader.
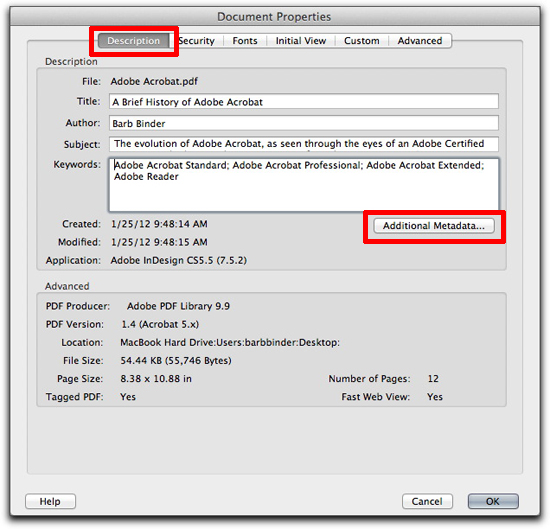
- Choose File > Properties > Description to see the fields.
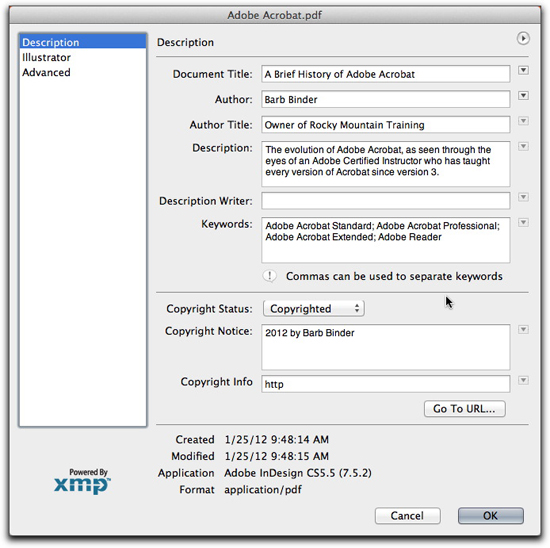
 To see any additional fields, click the Additional Metadata button.

Adobe FrameMaker
- Open any FrameMaker document.
- Choose File > File Info and fill out the description fields and click OK.

- Use File > Save as PDF to create the PDF document.
- Open Acrobat or Reader.
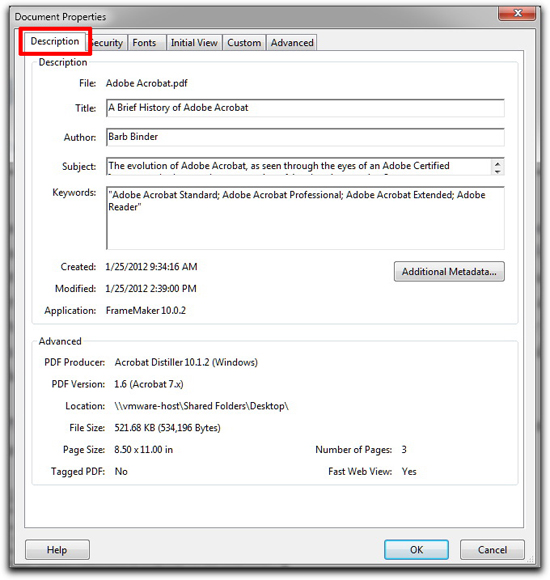
- Choose File > Properties > Description to see the fields.

Microsoft Word
- Open any Word document.
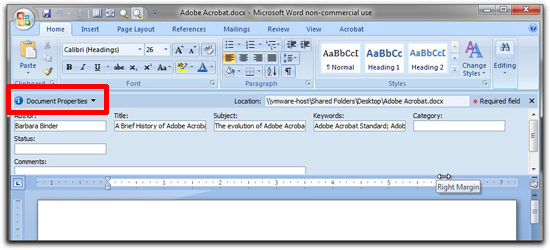
- Choose File > Properties (Mac) or File > Prepare > Properties (Win) and fill out the description fields.

On Word for Windows, the fields appear at the top of the document. If you want to see the dialog box, you have to click on Document Properties, and navigate to the Summary tab. On a Mac, you are taken right to the dialog box.

- Use File > Save as PDF (Mac) or PDFMaker (Win) to create the PDF document.
- Open Acrobat or Reader.
- Choose File > Properties > Description to see the fields.

So I know all this, right? And yet yesterday, I found myself with 50+ PDFs that I just created and was ready to send off to the client, only to realize that I forgot to enter the description fields… on all of them! If you ever find yourself in a similar situation, check out Adobe Acrobat X: Adding Description Fields to Multiple PDFs.


2 thoughts on “Adobe Acrobat X: Adding Description Fields to Document Properties”