by Barb Binder, Adobe Certified Instructor on InDesign
Workspaces are an important part of an InDesign workflow. Workspaces are a great way to get organized, and can help streamline your workflow.
- Start by trying out all of the existing workspaces found under Window > Workspace. Look at both the types of panels shown, but also how the various workspaces are organized.
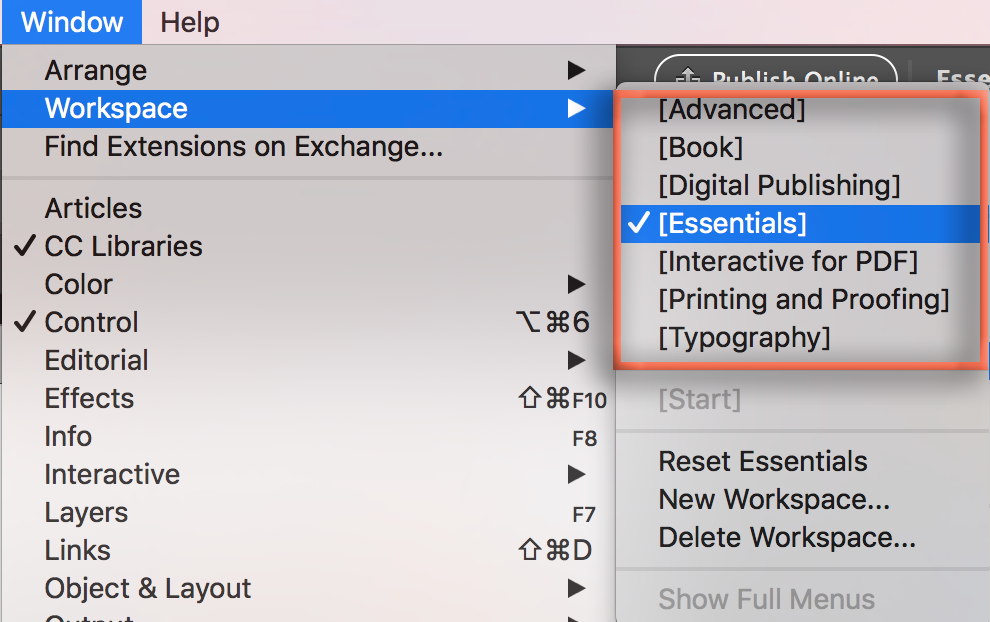
- Pick the one that most closely resembles what you want. Advanced is a good starting point for an all-purpose workspace. The default workspace—called Essentials—doesn’t have much to get you going and all the others are specialized for specific workflows.
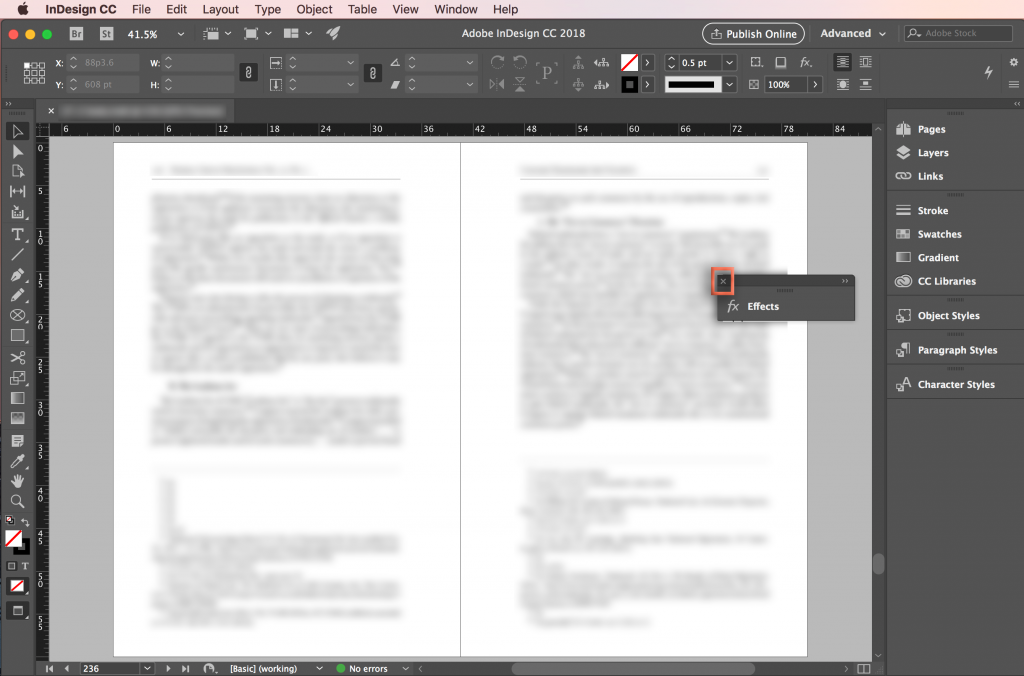
- Pull out the tabs of the panels that you don’t need. Let’s pretend you don’t need the Effects panel, so drag out the tab to the page and then click the x to close it.
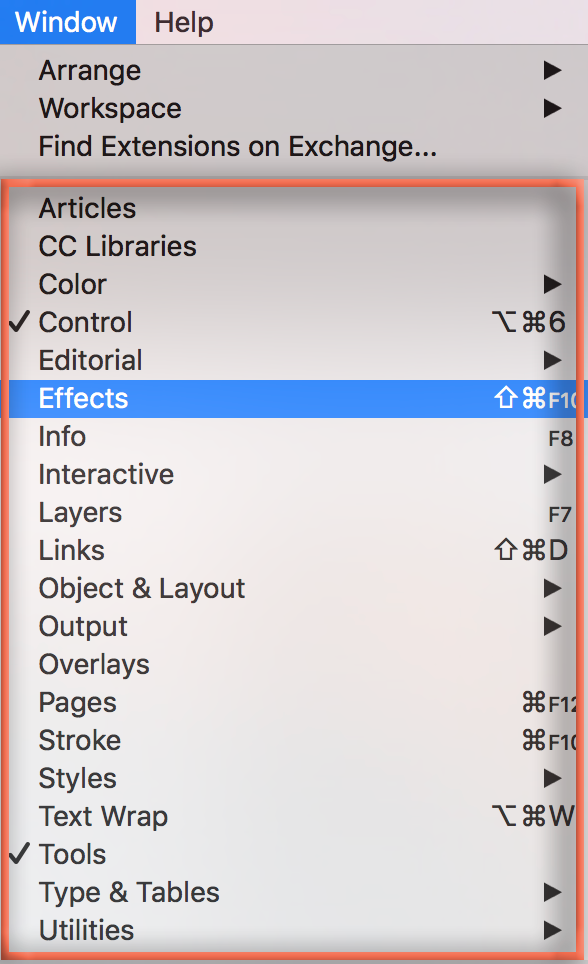
- Remember that all panels are listed alphabetically in the Window menu. If you remove one you shouldn’t have, just click it in the Window menu to re-open it. Note that many of the panels are in sub-menus, accessible by clicking on the right-pointing disclosure triangles.
- To dock a panel, drag it back to the right, but keep an close eye on the blue highlighting. It shows you exactly where the panel will go before you release it.
- A horizontal blue bar means it will slide into that position on the dock in between the existing panel groups
- A blue border means it will move into an existing group
- A vertical blue bar means it will move into its own column
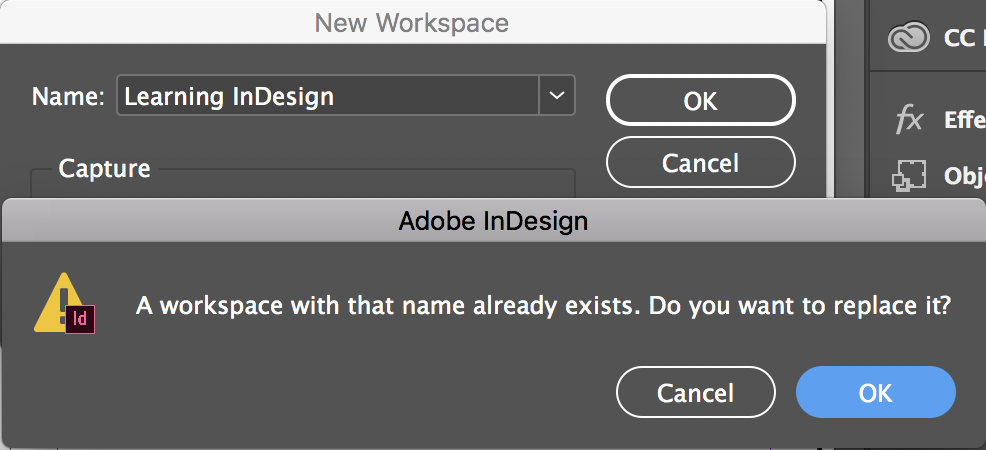
- When you think you like the workspace, save it with Window > Workspace > New Workspace.
- You can still update the workspace as much as you want. I find that when I am setting up a workspace for a specific job, it’s rarely perfect the first time. Update the the old one by saving again and picking the original name from the list. You will be prompted to replace the existing workspace.
- I normally make columns for the panels I need to focus on (which works well on my large production display, and not so well on a small screen) and reduce the rest to buttons.
- Miscellaneous tips:
- If you have multiple workspaces, always keep common panels in about the same place so that you know where to find them.
- You can use the little arrows at the top right of each column to collapse and expand columns.
- You can drag the left edge of a column to make it wider or narrower. In a collapsed column, you can reduce the size to just show buttons. If you are new to InDesign, consider leaving the names visible until you memorize what the buttons do.
- If you use buttons, put them on the left so that when you open a panel, it doesn’t hide other panels.
- The best thing about a workspace—besides getting organized—is that at the end of the day when your desktop is a mess, all it takes is Window > Workspace > Reset [your workspace name here] to reset all the panels back to where they were when you saved them.
~Barb