Need training at your office? Request a quote for custom training.
Adobe InDesign: How to Add a Black Overlay to an Image
By Barb Binder, Adobe Certified Instructor on Adobe InDesign CC
One my of Introduction to Adobe InDesign students asked me how she could add an overlay to her images to help text placed on top pop. Her brand guide specified two different techniques: an overall darkening, and a gradient that fades to transparency. Here you go, KT.
Overall darkening
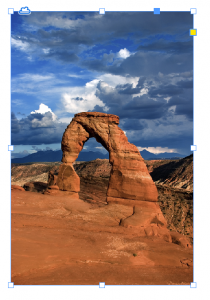
- Start by placing an image on the page using File > Place.

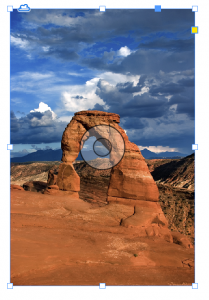
- Select the frame and then choose Edit > Copy, followed by Edit > Paste in Place. This duplicates the frame.
- Click the Content Grabber (the donut) in the center of the copy, and press Backspace or delete to remove the duplicate image from the second frame.
- Optional: select the top frame, and choose Object > Content > Unassigned to remove the non-printing X from the now-empty graphic frame.
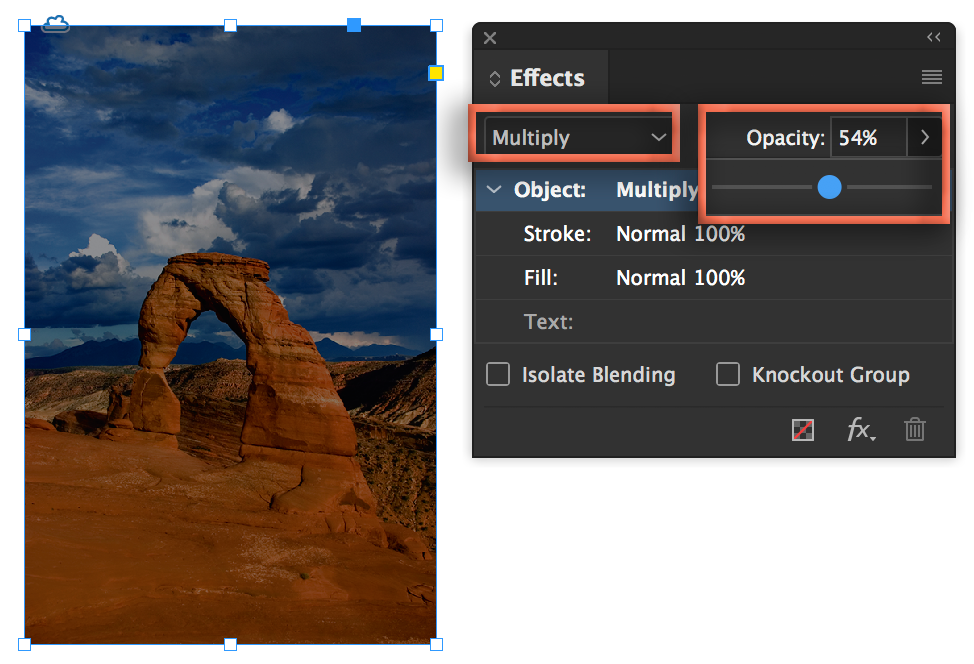
- Fill the top frame with Black.
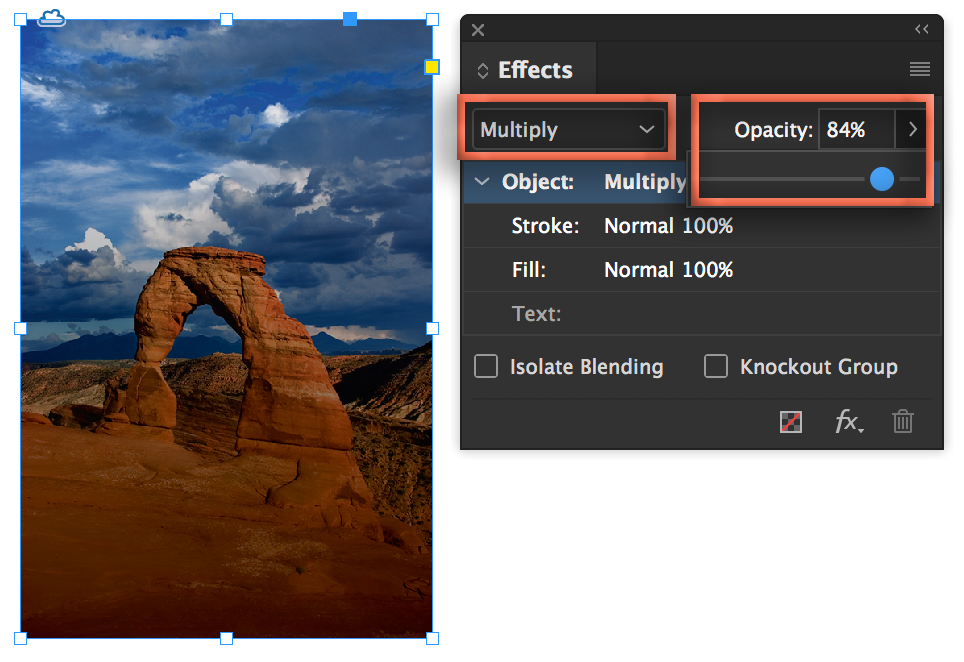
- Open Window > Effects and change the top frame as follows:
- Set the Blending Mode to Multiply to blend to top pixels with the pixels underneath; then,
- Drag the Opacity Slider to the left until you reach the desired effect.
- Add the text into its own frame, and drag on top of the image


Gradient
- Follow steps 1–5, above.
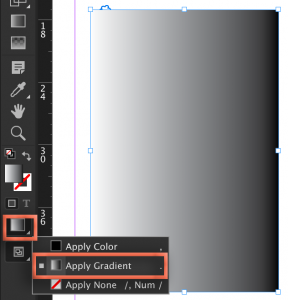
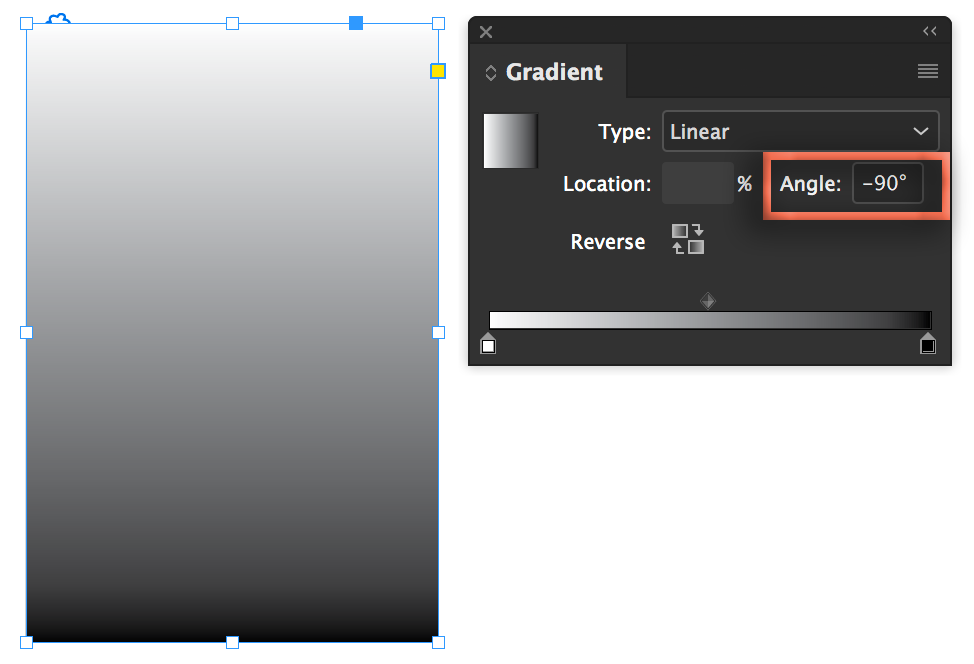
- Fill the top frame with a Black/White gradient with the Apply Gradient button at the bottom of toolbox. (You can also just type a period (.) to apply the B/W gradient.)
- Choose Window > Color > Gradient and adjust the angle to put the black at the desired location. The black will stay dark, the white will become transparent.
- Open Window > Effects and change the top frame as follows:
- Set the Blending Mode to Multiply to blend to top pixels with the pixels underneath; then,
- Drag the Opacity Slider to the left until you reach the desired effect
- Add the text into its own frame, and drag on top of the image

Stunning! Brilliant. Thank you.