Need training at your office? Request a quote for custom training.
Adobe Bridge: Contact Sheets for your CD/DVD Cases
By Barb Binder
How frustrating it is to sort through a stack of photo CDs, each with a written label like the CD on the left? Wouldn’t it be cool to make a contact sheet that fits in the front of your CD case (also known as a jewelcase booklet), to make the searching process much more visual? Especially if it was a quick and painless process?

I think so! Here’s how…
- Open Adobe Bridge CS4*.
- Navigate to the folder that contains the images you have put on the CD.
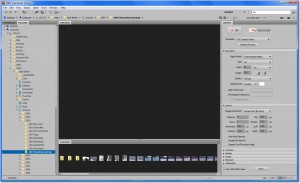
- Choose Window > Workspace > Output. The Output panel should appear at the right of the Output Workspace. If you don’t see it, choose Window > Workspace > Reset Workspace.

The Output Workspace. - Using the Control key (Mac: Command key), select as many key images from the folder as you like. I picked 25.
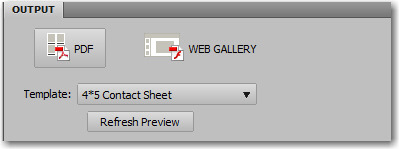
- Click the PDF button in the top of the Output tab and change the Template to 4*5 Contact Sheet. Click the Refresh Preview button to see how your contact sheet looks so far. Cool, but rather large to fit in the jewelcase booklet.

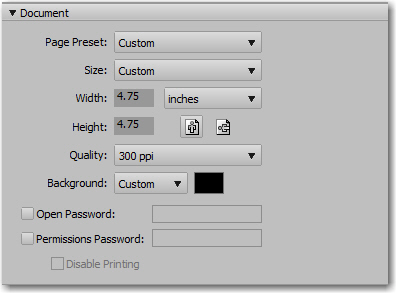
The Output tab. - Click the Document tab to open it. Change the Page Preset to Custom, and enter a Width and Height of 4.75 inches. You can also pick a resolution and background color here. To see the results, click the Refresh Preview button (in the Output tab) again.

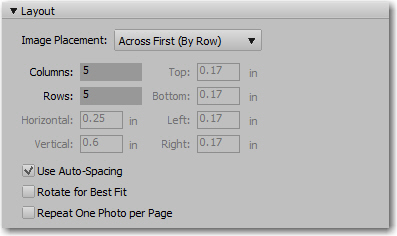
The Document tab. - Click the Layout tab to open it. Set the Image placement (I choose Across First, by Row) and the number of Columns and Rows. (I choose 5 x 5). Check the Use Auto-Spacing checkbox. Click the Refresh Preview button again.

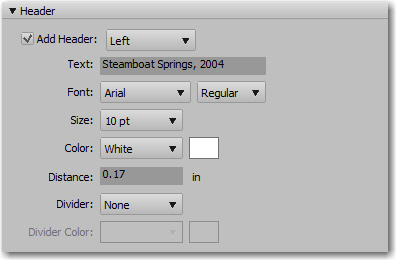
The Layout tab. - Optionally, open Header and Footer tabs and enter some descriptive text. (Because I choose black as my background color, I need to change the text color to white.) Refresh Preview to see your changes.

The Footer tab. - When you are satisfied with the preview, scroll all the way to the bottom of the Panel to find the output options. Check View PDF after Save and click the Save button.

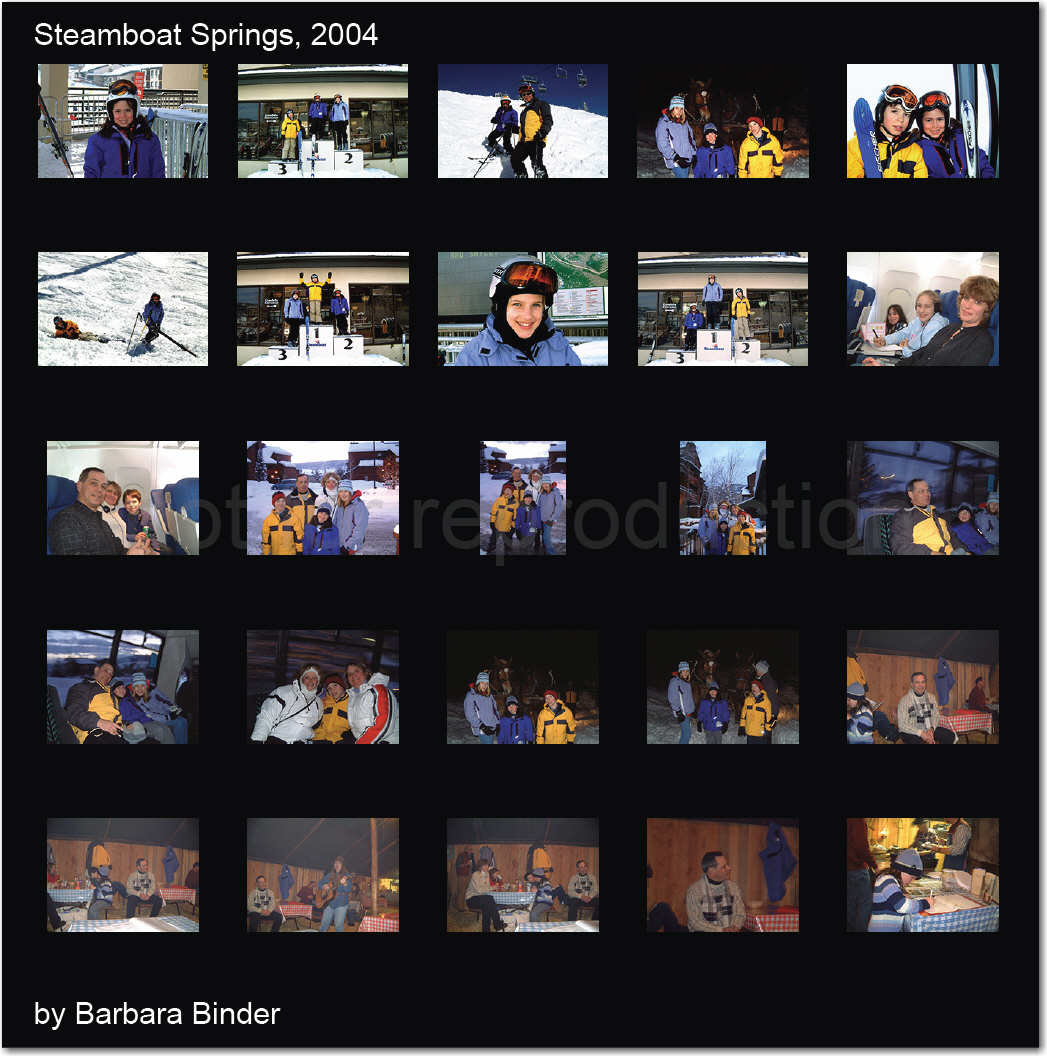
The Output options. - As long as you have Adobe Acrobat or Adobe Reader installed, your completed contact sheet will open on your screen.

The completed contact sheet. - Print it, trim it, and slide into the front of your jewelcase booklet. Nice!
* This contact sheet feature has been part of Bridge for years. In Bridge CS3 and earlier, select the key images and choose Tools > Photoshop > Contact Sheet II. From there, the process is very similar.

Barbara, thanks for the step-by-step tutorial. Most companies want to see the titles of the images. In addition, I am having issues with the watermark feature in Bridge. I would like to watermark each image. Please let me know if this can be accomplished in Bridge.