By Barb Binder, Adobe Certified Instructor on InDesign
You can’t round the corners of a table with a stroke around it in Adobe InDesign CC, so how can you achieve this look?
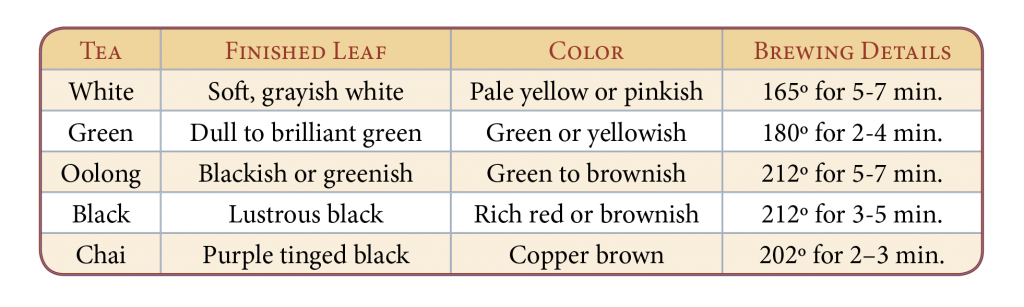
One answer is to put the table into a graphic frame, and round the corners of the frame. Need a few more details? Here you go:
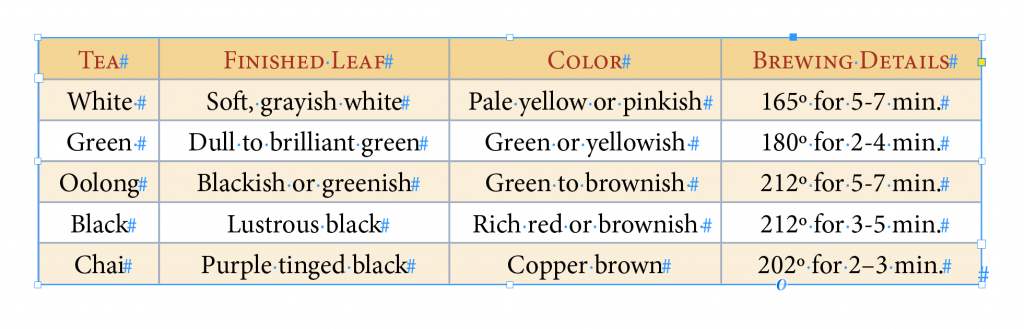
- Create the table in its own text frame. Format as desired.
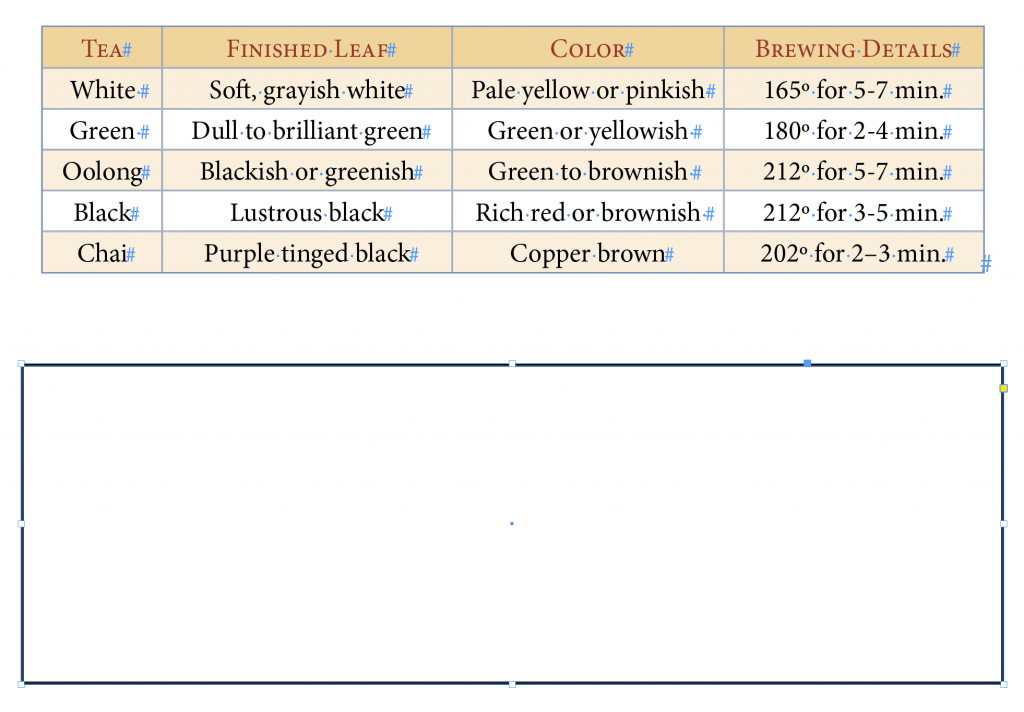
- Draw a new frame, a bit larger than the table. Add a stroke to the frame, but don’t worry about the corners just yet.
- Select the frame containing the table and choose Edit > Cut.
- Select the new frame and choose Edit > Paste Into. (This converts the new frame to a graphic frame and it now contains the text frame, which in turn contains the table.)
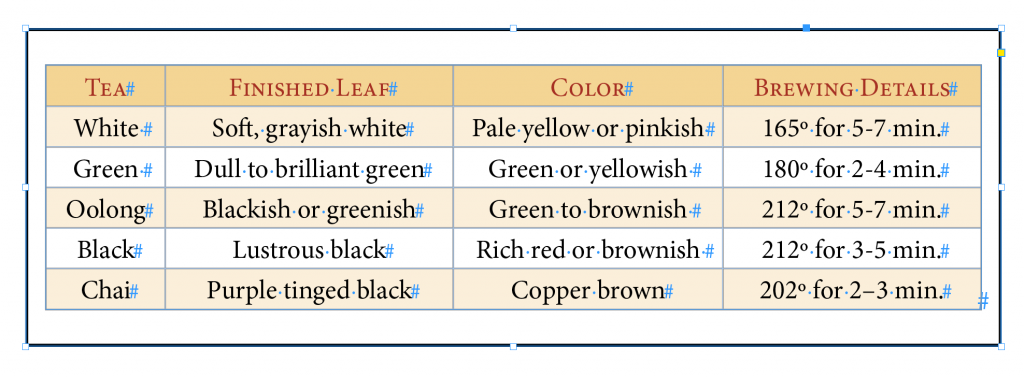
- Using the Selection tool, double-click one of the corner handles of the unassigned frame to fit the graphic frame to text frame.
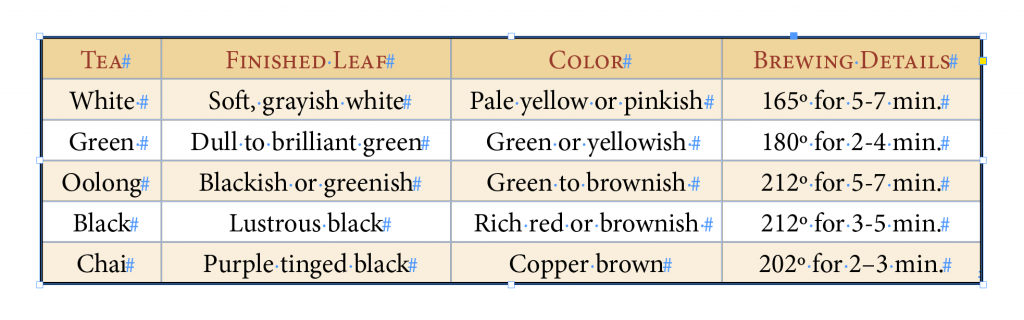
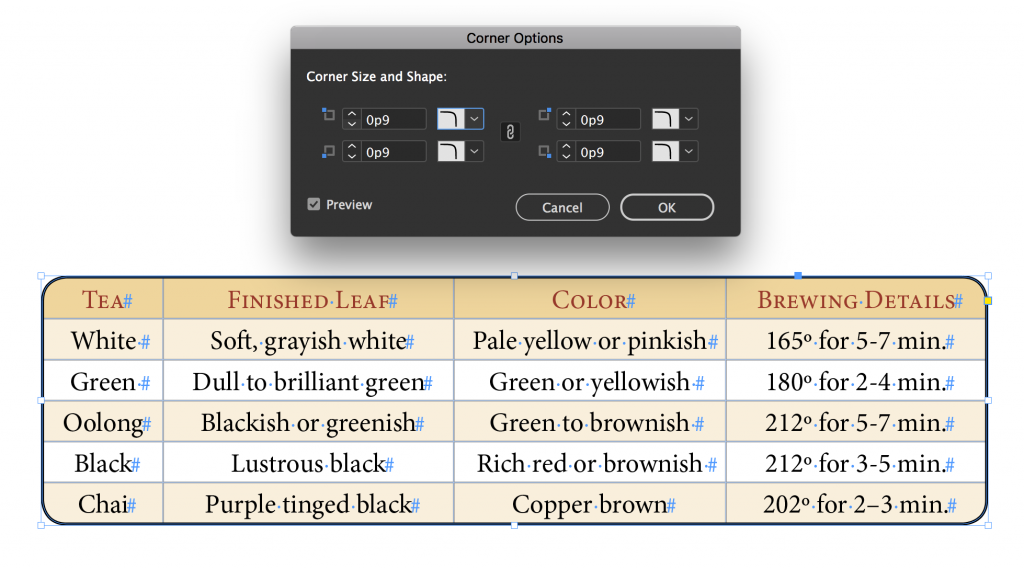
- With the graphic frame still selected, choose Object > Corner Options. Turn on preview and adjust the corners as desired.
thank you!
THAANK YOOOOUUUUU, You saved me a lot of time designing hundreds of tables.
Fantastic! Hugely helpful
Thank you Barb.
You nailed it and saved my day.
I spent ages trying other methods with no success. Using InDesign 2020 and still no ’rounded corner tables’ option anywhere. Ridiculous!
Regards from Spain,
Thank you very much!
This is fantastic! I have been doing it with different objects stacked together for years. Never thought of using Paste Into so that you are basically making a mask. Thank you so much, very clever.
Awesome!!!! Thank you for this bit of InDesign magic! I spent way to much time figuring this out and you have such an easy solution.